Last updated November 17, 2026







Free written scope consultation - allowances, timeline, and change-order rules on paper before a single trade is scheduled
Bathroom Remodeling Troubleshooting: Common Problems and How to Fix Them
Tile cracking six months after a bathroom remodel isn’t a tile problem. It’s a substrate problem that was visible during installation if you knew what to look for, and no amount of re-tiling fixes it without addressing the deflection underneath. That’s the uncomfortable truth about most bathroom failures: the trade that gets blamed is usually the last one in the room, not the one who caused the damage. In our experience across Long Beach, the real culprit is almost always a miscommunication, a missing inspection, or a skipped waterproofing step three phases earlier. This guide shows you how to trace a symptom back to its actual source, know when a partial repair is realistic, and understand what a legitimate fix really requires.
Quick Answer
Most bathroom remodeling problems fall into four buckets: substrate and waterproofing failures behind the tile, rough-in plumbing mistakes made before the walls closed, electrical and ventilation errors, and plain maintenance wear. The fix depends entirely on which bucket the symptom points to. Re-grouting a shower that’s leaking from a failed pan liner wastes money; tracing the leak to its source first saves a full tear-out. Diagnose the cause before you buy a single tube of caulk.
Styles & brands we work with
- Kitchen remodeling
- Bathroom remodeling
- Home additions & ADU
- Roofing
- Windows & doors
- Driveway & pavers
- Fence
Table of Contents
- How to Diagnose a Bathroom Problem Before You Call Anyone
- Why Do Tiles Crack After a Bathroom Remodel?
- Grout That Won’t Stay Clean: Hard Water and the Wrong Grout
- Shower Leaks: Failed Pan Liners and the Missing Weep Screed
- Skipped Waterproofing: The Most Common Corner Cut
- Plumbing Problems After a Remodel: Slow Drains, Running Toilets, Low Pressure
- Electrical Gremlins: GFCI Tripping, Fan Wiring, and Dimmer Mismatches
- Warranty, Defect, or Maintenance? How to Tell the Difference
How to Diagnose a Bathroom Problem Before You Call Anyone
The single most useful thing you can do before spending a dime on repairs is match the symptom to a phase of the original remodel. Every bathroom project moves through the same sequence: demolition, framing and rough-in plumbing, electrical rough-in, inspections, waterproofing, tile, fixtures. A symptom will almost always point to the phase where the mistake happened.
Work through this order:
- Write down exactly what you’re seeing and when it happens. “Crack follows the grout line on the back wall” is useful. “The shower is broken” is not. Note whether the issue appears after hot showers, overnight, or constantly.
- Locate it in the room. Floor, walls, curb, ceiling, or fixtures. Floor and curb problems usually trace to waterproofing. Wall problems usually trace to substrate or framing. Ceiling problems usually trace to ventilation or a leak above.
- Check the timeline. Did it show up within weeks (likely install error), within a year (likely a latent waterproofing or deflection issue), or after several years (possibly maintenance)?
- Look for moisture where it shouldn’t be. Soft spots in drywall near the shower, musty smell, efflorescence (white powder) on grout or tile, or a loose tile that sounds hollow when tapped. Those are waterproofing signals.
- Reverse-engineer the likely phase. A slow drain that was slow from day one points to the rough-in slope. A fan that never cleared steam points to undersized exhaust, decided at the electrical phase.
In Long Beach, the coastal humidity and hard water push symptoms to the surface faster than in inland cities, which is actually helpful. A failing shower pan in a Long Beach home often telegraphs itself within the first year through efflorescence or a persistently damp grout line, before the damage spreads to framing. Catch it at the symptom stage and you’re looking at a targeted repair; ignore it for two more years and you’re looking at a full tear-out.
Why Do Tiles Crack After a Bathroom Remodel?
Tiles crack because the surface underneath them moves. Tile is rigid; it doesn’t bend. When the substrate flexes, the tile takes the stress and splits, usually along a grout line or a single plane. The crack is a messenger, not the problem.
There are three common root causes:
- Substrate deflection. If the floor joists or the subfloor weren’t stiff enough for the tile assembly, the floor flexes slightly underfoot. Over months, hairline cracks appear and spread. The threshold is measured in deflection, not guesswork: a tile floor needs a stiffer assembly than vinyl, and a remodel that skips the sistering or underlayment upgrade will telegraph through the tile.
- Improper thinset coverage. Tiles set with spot-bonding or an under-troweled bed leave voids. Tap a cracked tile: a hollow sound confirms voids underneath. Correct installation uses full coverage with the right notched trowel, not blobs.
- No movement joints. Tiles need a little room to expand and contract. Long Beach’s temperature swings between marine-layer mornings and sunny afternoons are mild, but a floor or wall set tight to every edge with no perimeter gap or soft joint will crack at the field.
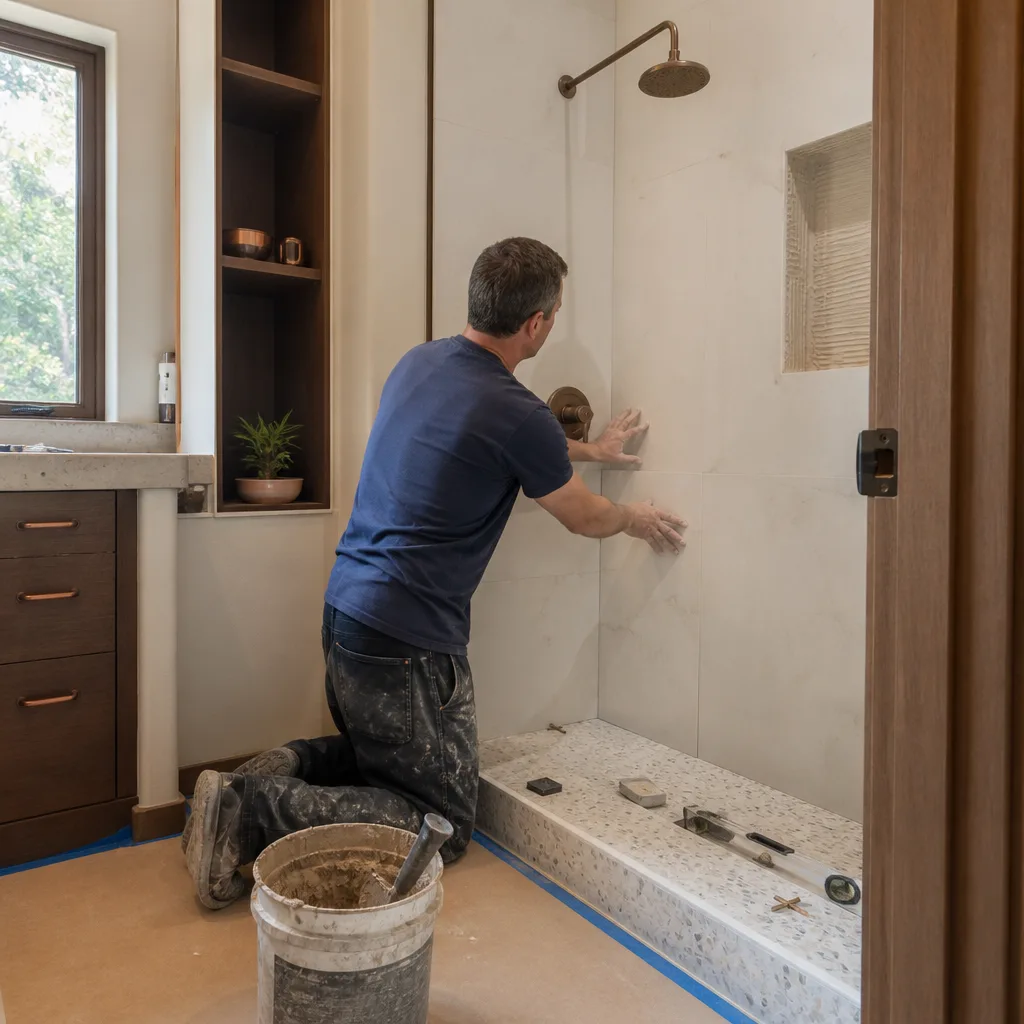
Here’s the part homeowners resist: re-tiling over the same cracked substrate just buys you another six months. A proper fix means removing the affected tile, confirming with a deflection check whether the framing is adequate, and rebuilding the assembly from the framing up where it isn’t. If the crack is isolated to one tile and the tap test comes back solid everywhere else, a single-tile replacement can hold. If cracks follow grout lines across the field, you’re looking at a substrate rebuild.
For older Long Beach homes, especially the bungalows and Spanish-style properties near Belmont Shore and Bluff Park, the original framing was never designed for heavy tile and stone. Upgrading the floor structure is often a necessary part of the remodel, not an optional line item, and a contractor who skips that conversation is setting up the next owner’s tile crack.
Grout That Won’t Stay Clean: Hard Water and the Wrong Grout
If your grout turns gray, orange, or chalky within weeks of cleaning, the grout itself is probably the wrong product for the water. Long Beach runs on some of the harder water in the region, and hard water leaves mineral deposits that cling to porous cementitious grout and feed the staining cycle.
The signs of a grout-type mismatch:
- Staining returns fast after every cleaning, especially in the shower.
- White, chalky haze that won’t scrub off (that’s mineral scale bonding to the grout).
- Grout that feels sandy or crumbles at the edges.
- Discoloration concentrated at the bottom of the shower walls and on the floor.
Two fixes make a real difference. First, switch the grout to a dense, low-absorption product. Modern epoxy and high-performance cement grouts resist hard-water staining far better than basic sanded grout, and for a shower in Long Beach they’re the right call. Second, seal it correctly: a penetrating sealer applied to clean, cured grout and refreshed on schedule slows the mineral buildup. Sealer isn’t permanent and shouldn’t be sold as such. If a contractor promised “sealed for life,” that was marketing.
For existing grout, an aggressive clean with an acidic cleaner will strip the minerals but can also eat the grout and void a sealer. If the grout is failing and the staining is deep, re-grouting with a better product and sealing it is often the cleanest path, and it’s far cheaper than a re-tile. In our experience, this is one of the most common requests we get after a bathroom has been in service for a few years: the tile is fine, the grout wasn’t the right product for hard water.
Shower Leaks: Failed Pan Liners and the Missing Weep Screed
A shower that leaks under the floor or into the wall almost always has one of two problems: a failed pan liner or a missing weep screed. Both are installed (or should be) before a single tile goes down, which is why they’re invisible until water finds its way out.
How to recognize each:
- Failed pan liner. Water shows up on the ceiling below, in the room next door, or as a musty smell and soft baseboard outside the shower. The liner may have been punctured during installation, improperly folded at the curb, or the pre-slope (a sloped mortar bed under the liner) may have been skipped. A liner laid flat over a level subfloor traps water instead of draining it toward the drain.
- Missing weep screed. The drain assembly has weep holes that let water drain from the mortar bed. If the installer packed mortar over those holes or used the wrong drain type, the bed stays wet, water wicks up the walls, and grout and caulk fail repeatedly. You’ll see persistent dark damp patches at the shower floor and a shower that never quite dries out.
How do you tell without demo? A few field tests help. Fill the shower pan with a couple inches of water and mark the water line, then check back in a few hours. If the level drops without draining through the fixture, the pan isn’t holding. If a moisture meter reads wet at the baseboard or stud line outside the shower, water is getting out. A plumber or qualified tile contractor can run these checks and confirm.
The hard truth: these are not surface fixes. A proper repair means removing the shower floor tile, the drain, and the mortar bed to inspect the liner, and rebuilding the assembly correctly. Sometimes only the pan needs a rebuild; if the walls are saturated, the shower needs a full redo. That’s why waterproofing done right the first time is the cheapest thing in any bathroom project, even though it’s the first thing cut. For a Long Beach bathroom, we’ve seen these failures play out faster because the humidity slows drying and the water sits longer.
Skipped Waterproofing: The Most Common Corner Cut
Waterproofing is the step nobody sees and the step most often skipped, minimized, or done wrong. When it fails, the failure shows up months or years later as cracked grout, loose tile, mold, or a leak somewhere far from the shower.
Two waterproofing systems are common: a sheet membrane (a bonded waterproof layer) or a liquid-applied waterproofing membrane painted over the substrate. Either can work, and both can fail, but the failure points are predictable:
- No waterproofing at all. Some installers rely on tile and grout as the waterproof layer. That’s wrong; grout and thinset are not waterproof, and neither are tile and cement board.
- Waterproofing over an unsloped surface. Liquid membranes need a sloped substrate so water drains; on a level floor they trap water.
- Gaps at the seams and corners. The corners, curb, and drain flange are where waterproofing fails, and they’re the hardest places to do right.
- Coverage that’s too thin. Liquid membranes need specific thickness and multiple coats. One thin coat is not a membrane.
- Fasteners driven through it. A nail or screw through the membrane after it’s applied is a direct path for water to the studs.
To identify whether waterproofing has failed without demo, look for these signals: hollow or loose tile, cracks in the shower floor, efflorescence on grout, a persistent musty smell, or bubbling paint and soft drywall on the opposite side of a wall. If two or more show up, the odds are the membrane is compromised. A moisture test by a pro confirms it.
When is partial repair possible? If the failure is localized to the curb or a corner and the rest of the shower was built correctly, a targeted repair can work. When is full tear-out unavoidable? When water has reached the framing, when the pre-slope was never built, or when the waterproofing was missing entirely. In those cases, patching the visible failure just moves the problem. For Long Beach homes with older framing, the full tear-out also gives you the chance to check the studs and insulation, which is worth doing.
Plumbing Problems After a Remodel: Slow Drains, Running Toilets, Low Pressure
Plumbing complaints after a bathroom remodel tend to trace back to the rough-in, not the finish. Three show up again and again.
Slow drains that were slow from day one. If the shower or sink drains slowly but the trap is clear, the drain line probably wasn’t sloped correctly during the rough-in. The length and drop must follow the code slope; too flat and water sits, too steep and solids outrun the water. A drain that has been slow since the remodel isn’t a clog and snaking won’t fix it. The repair is either re-plumbing the affected line or, in some cases, re-cutting the slope. Snaking a builder’s-slope error just wastes a service call.
Running toilets caused by a flapper mismatch. A toilet that runs after a remodel is often a flapper and fill-valve mismatch. New fill valves and flappers from a brand like American Standard or Delta are tuned to specific flush volumes, and swapping one without the other can leave water trickling past the flapper. Replacing the flapper to match the fill valve spec is usually a small, quick fix; the right move is to confirm the correct replacement parts rather than guessing.
Low water pressure at new fixtures. If the showerhead or faucet was low from the moment it was installed, debris or sediment probably got into the supply line during rough-in or fixture install. Aerators, screens, and cartridge inlets trap it. The fix is usually on the fixture end: clean the aerator, pull and rinse the cartridge (on a Moen or Delta fixture, that’s a common step), and check the supply stop. If every fixture is low, a partially closed valve or a supply-line restriction is likely. That’s a plumber call, not a fixture swap.
In Long Beach, water hardness also plays into pressure problems over time, so a fixture that worked perfectly for the first year can slowly clog at the screen. Flushing the fixture and cleaning the aerator on schedule heads off most of it.
Electrical Gremlins: GFCI Tripping, Fan Wiring, and Dimmer Mismatches
Electrical issues after a bathroom remodel are not minor annoyances. They’re code and safety matters, and they need a licensed electrician, not a handyman with a tester and an opinion. Here’s what usually shows up.
GFCI nuisance tripping. A GFCI outlets is required in bathrooms, and if yours trips constantly, the likely causes are a shared circuit run in a way it shouldn’t be, a chained GFCI feeding downstream loads, or moisture in the circuit. Circuits that share the bathroom with something else (like an outdoor outlet or another room’s load) can cause trips when the other load spikes. Correcting it means mapping the circuit and separating loads properly, and that’s an electrician’s job.
Ventilation fans wired without a dedicated neutral. Some fans are installed with wiring that doesn’t give them a proper neutral path, or tied to a switched hot in a way that causes flicker or premature motor failure. If your fan stutters, dies early, or the light flickers while the fan runs, don’t just replace the fan; have the wiring checked.
Undersized exhaust for the room. This isn’t an electrical fault, but it’s a ventilation decision. A fan should move enough air to clear the room’s volume. A fan that’s too small for the room leaves steam and condensation behind after a shower, and that moisture feeds the waterproofing and grout problems everywhere else in this guide. In a Long Beach bathroom with the marine layer keeping things damp, running a strong fan matters. A tired-sounding fan or steam that lingers is your sign the CFM was underestimated.
Dimmers on fixtures rated only for standard switches. Not every LED or fixture is dimmable. Installing a dimmer on a fixture that isn’t rated for it can cause flicker, buzzing, or premature failure. The fix is either a dimmable-rated fixture and compatible dimmer, or a standard switch. This is a quick swap, but it should be done by someone who knows the rating.
Warranty, Defect, or Maintenance? How to Tell the Difference
Here’s the question most homeowners get wrong: is this repair covered, is it a manufacturer defect, or is it my responsibility? Sorting it correctly decides who pays and how you document it.
Workmanship warranty. Covers installation-related failures: a shower that leaks because the pan liner was installed incorrectly, tile that cracked because the substrate wasn’t properly prepared, a fan wired wrong, a waterproofing failure caused by the installer. The key is that the failure traces to how it was installed, not how you used it.
Manufacturer defect. Covers a product that failed on its own merits: a faucet cartridge that started leaking within its warranty window, a fan motor that died early, a fixture that arrived defective. You’ll need the model, the date of purchase, and proof of installation. Getting the brand and model right matters: a Moen cartridge or a Delta fixture has its own support path.
Maintenance-related wear. Covers what time and water do to any bathroom: aged caulk, worn grout, a mineral-clogged aerator, faded sealer. Those are on the homeowner. Keeping up with caulk, sealer, and cleaning prevents most of the symptoms in this guide.
Documentation advice for each: keep your contract, change orders, and the written scope from the remodel; photograph the failure with a ruler or date marker; keep receipts for fixtures; and note the date you first noticed the problem. A written record turns a dispute into a straightforward conversation. That’s exactly why a written workmanship guarantee matters: our 730-Day Done Right Promise means if something we installed fails within that window because of how we installed it, we make it right. That’s the standard anyone hiring a contractor should expect, in writing.
Common Mistakes to Avoid
- Re-tiling over a cracked substrate. If the tile cracked, the tile isn’t the problem. Identify the deflection or thinset issue first or you’ll be re-doing the same repair.
- Skipping or cutting the waterproofing to save money. It’s the cheapest part of the job and the most expensive to fix. Any contractor who treats it as optional is cutting a corner.
- Snaking a shower drain that’s been slow since the remodel. That’s a rough-in slope problem, and snaking it doesn’t address the cause.
- Swapping a toilet flapper without matching the fill valve. A mismatched fill valve and flapper can cause a running toilet. Match the parts to the fixture, not to whatever’s on the shelf.
- Using an undersized exhaust fan in a humid coastal climate. In Long Beach, an undersized fan leaves moisture behind that shortens the life of grout and waterproofing. Size the fan to the room.
- Treating every fix as a warranty claim. Worn caulk, faded sealer, and mineral buildup are maintenance, not workmanship, and the sooner you address them the cheaper it is.
- Hiring for the cheapest bid and never asking about waterproofing, inspections, or warranty. The bid that skips the details is the one that produces the symptoms this guide covers. Ask for the written scope, the inspection plan, and the workmanship guarantee.
See the difference
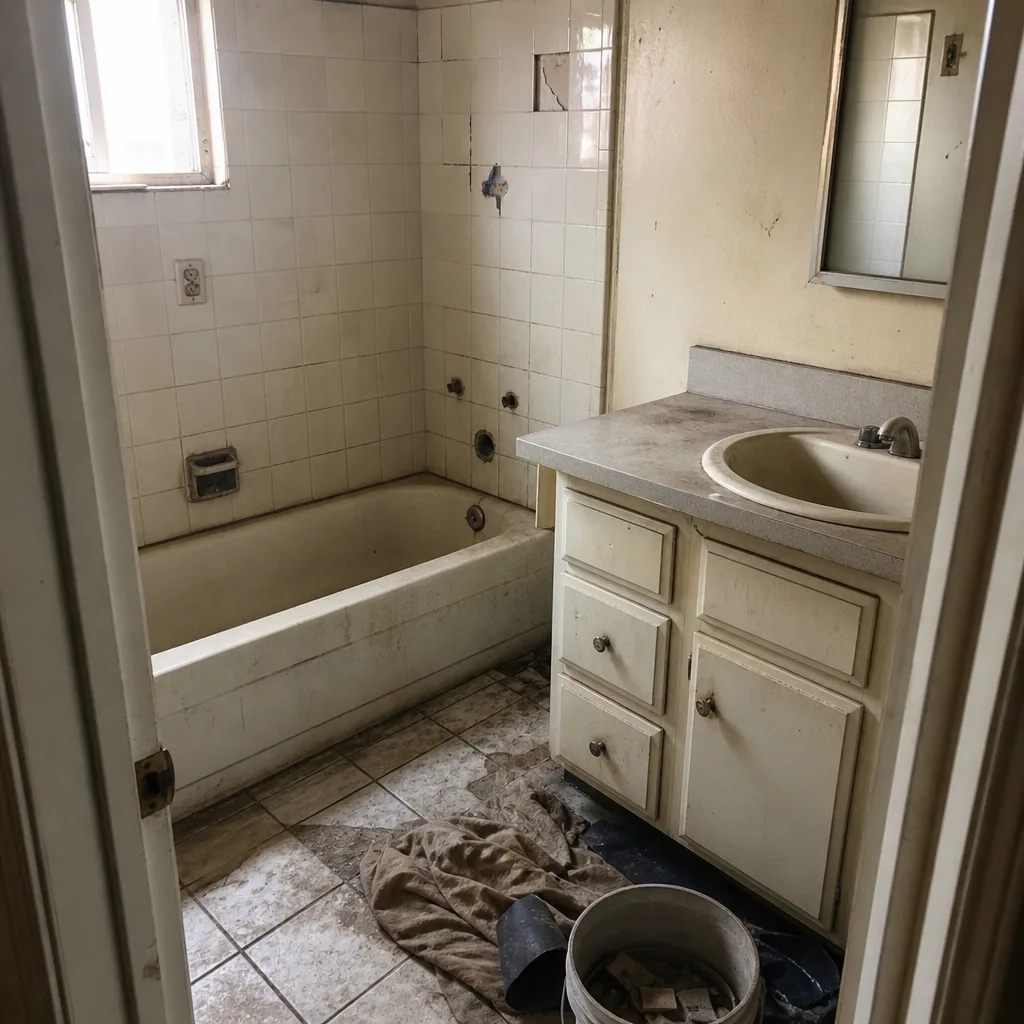 Before
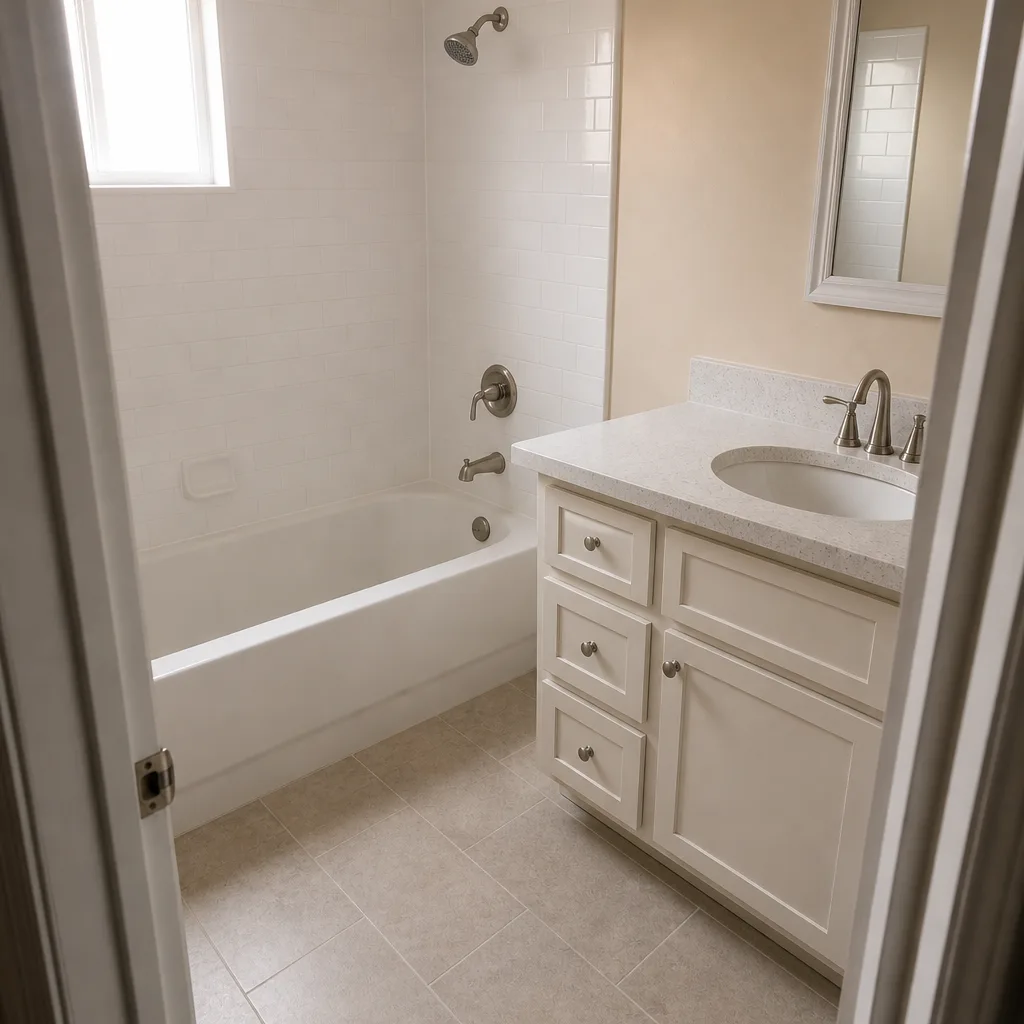 After
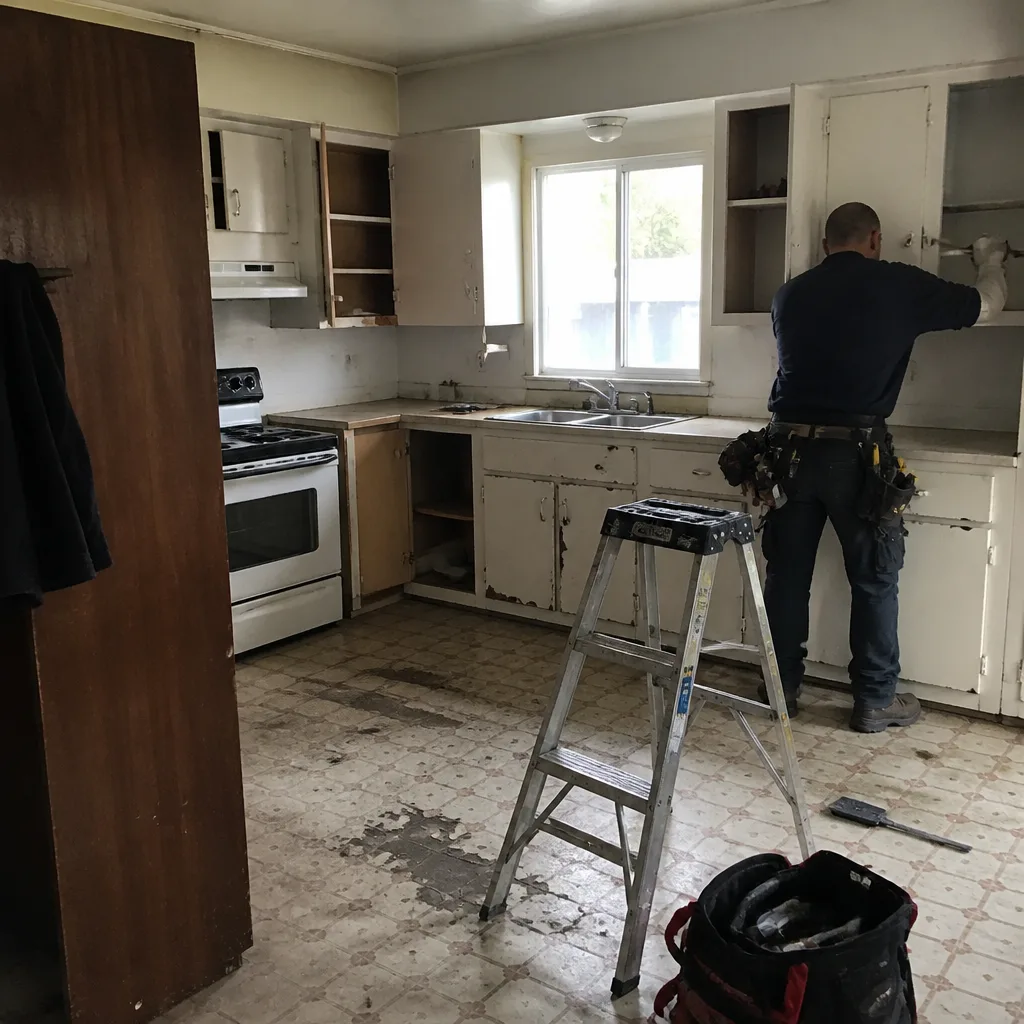 Before
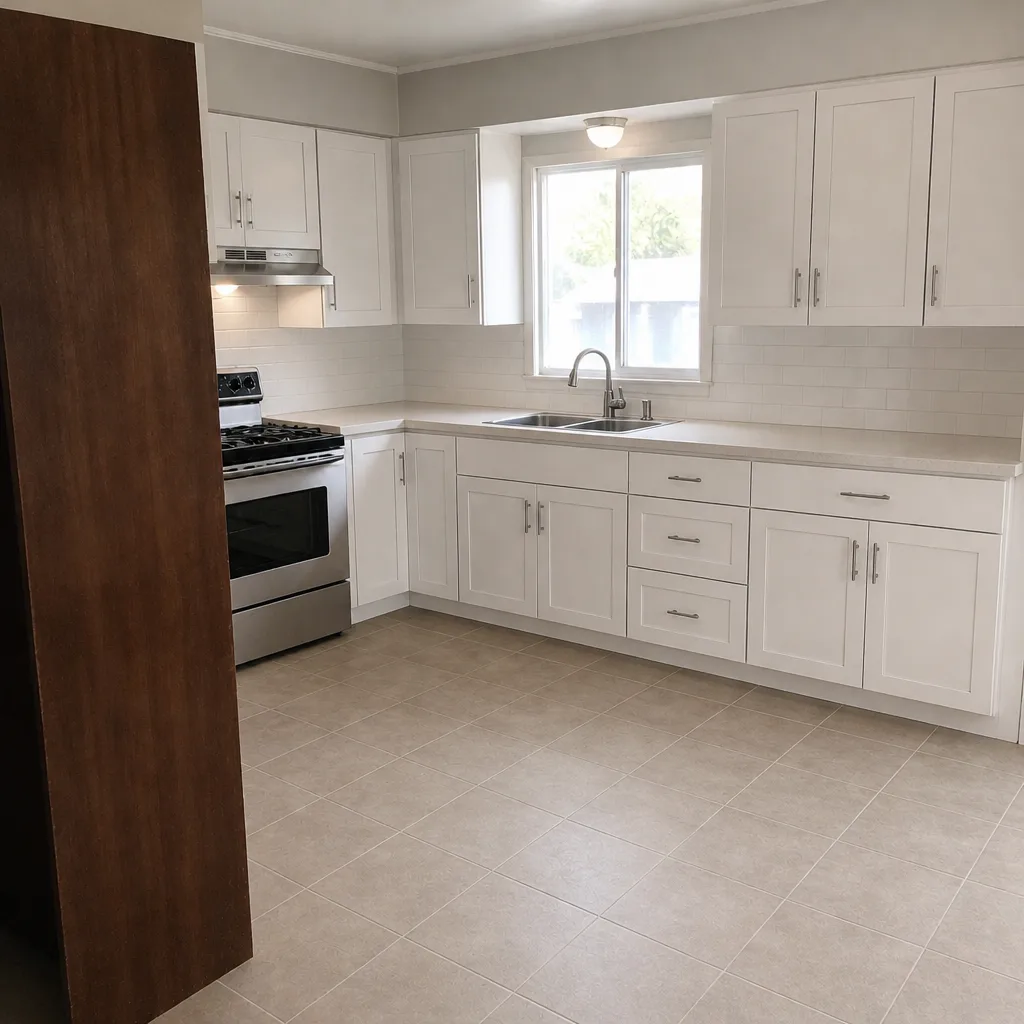 After
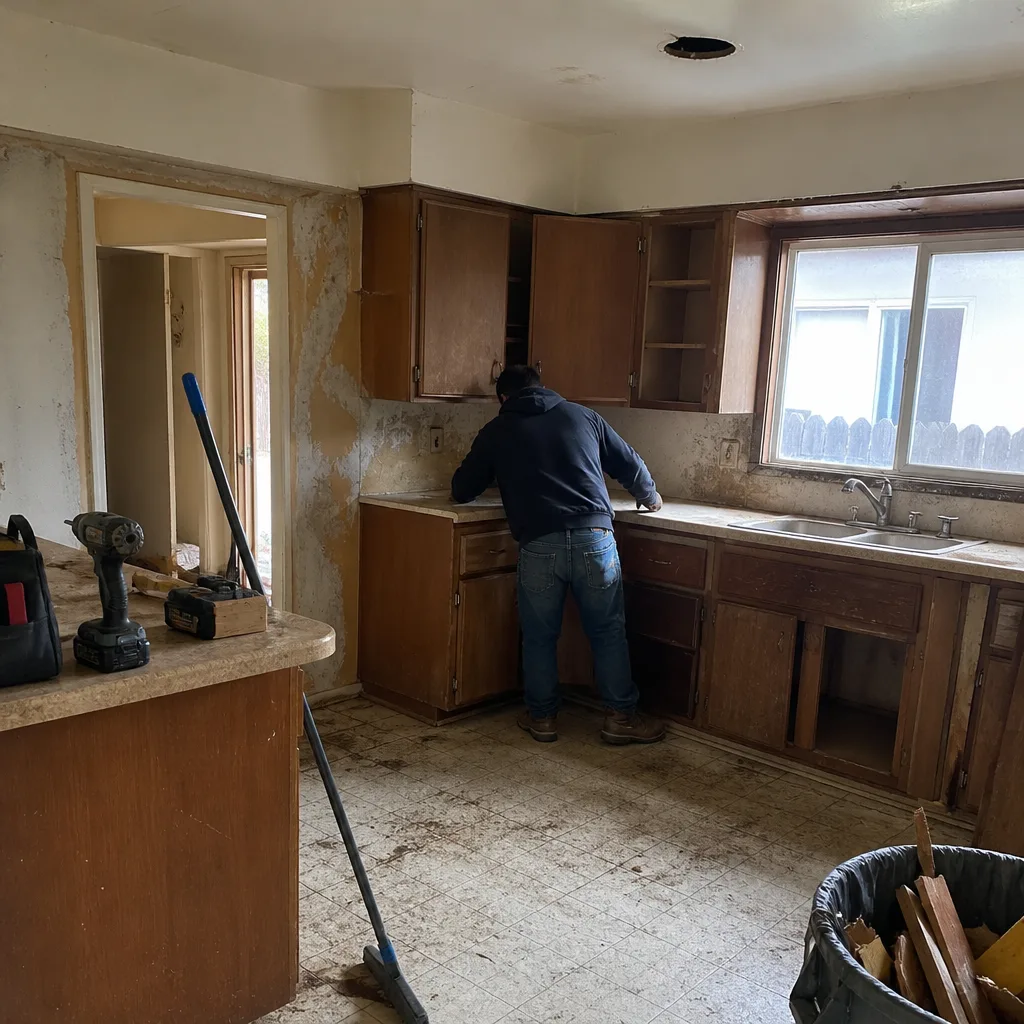 Before
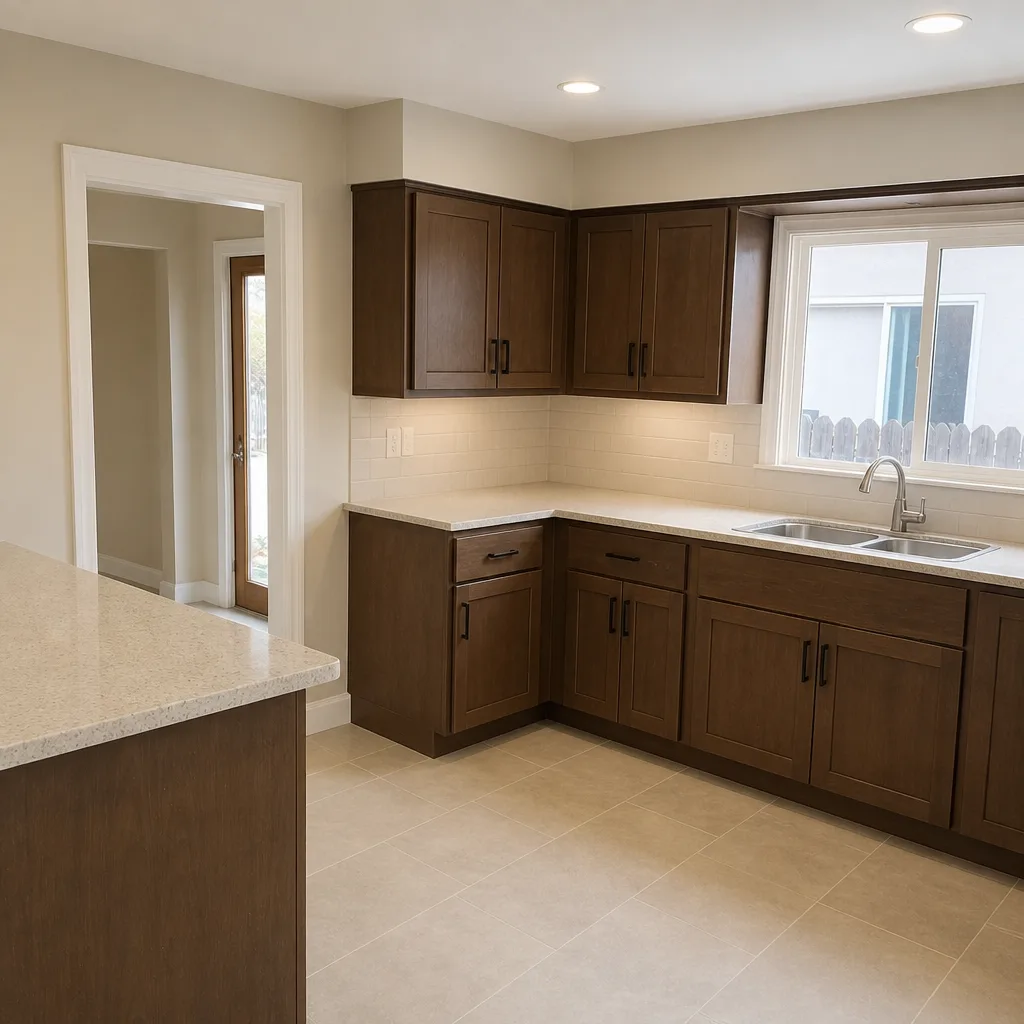 After
When to Call a Professional
Call a professional when any of these show up: water on the ceiling below the bathroom, a persistent musty smell you can’t trace, a shower pan that fails the fill-and-watch test, loose or hollow tile, GFCI trips that keep coming back, a fan that stutters or dies early, or a slow drain that’s been slow since the remodel was finished. Surface fixes buy time but won’t address the root cause. If a repair involves the waterproofing membrane, the shower pan, the drainage slope, or the electrical circuit, get a professional. For the rest, a free walkthrough tells you which bucket you’re in and what the real fix looks like.
Groundwork Construction Co. of Long Beach offers free estimates in Long Beach. Call (888) 345-8164 to schedule yours. Calls are answered by a live person, 24/7, and our technicians are background-checked and arrive in uniform.
Frequently Asked Questions
The most common cause is substrate deflection: the floor or wall underneath the tile moves slightly and the tile cracks along the stress point. Improper thinset coverage or missing movement joints can also cause it. A deflection check and tap test confirm which one you’re facing. Call (888) 345-8164 for an evaluation.
Start with a fill-and-watch test: fill the pan with a couple inches of water, mark the level, and check it after a few hours. If the level drops without draining, or if a moisture reading at the baseboard outside the shower comes back wet, the pan or liner is compromised. A pro can run the checks and confirm. Call (888) 345-8164 for a free estimate.
Sometimes. If the grout is intact and the staining is surface-level, a careful clean and a quality sealer can reset the clock. But if the grout is porous and worn, or the shower is in a hard-water Long Beach home, re-grouting with a denser grout and sealing it is the better long-term fix. If the staining keeps returning fast after a clean, the grout is the wrong product for the water.
Usually an installation problem. The fan’s CFM is likely undersized for the room, or it’s wired or ducted incorrectly. A steam-filled bathroom in Long Beach stays damp longer because of the coastal humidity, so a properly sized fan matters. Call (888) 345-8164 for a free estimate.
If the leak traces to how the shower was installed (failed pan liner, missing waterproofing, incorrect rough-in), it’s a workmanship issue and should be covered under the workmanship warranty. If it traces to a product that failed on its own (a cartridge, a fan motor), it’s a manufacturer claim. If it’s worn caulk or aged sealer, it’s maintenance. Documentation makes the difference, so keep your contract and photos.
Cosmetic work usually doesn’t require a permit; moving plumbing, electrical, or structural work does. A repair that opens the plumbing or electrical system generally needs a permit and inspection. Ask before the work starts, and get it in writing. Call (888) 345-8164 for a free estimate.
The Bottom Line
Most bathroom remodel problems are not the fault of the last trade in the room. They trace back to a skipped waterproofing step, a rough-in slope that was never right, a missing movement joint, or an undersized fan, all decided before the tile went down. Diagnose the symptom to the phase, and you’ll know whether a targeted repair or a full tear-out is honest. Waterproofing done correctly is the cheapest insurance in the project; cutting it is the most expensive decision. From foundation to finish line, the work should be built to last and backed in writing. Our technicians have up to 12 years of experience. If you’re in Long Beach and wondering what’s actually wrong, we’ll tell you straight.
Call Groundwork Construction Co. of Long Beach at (888) 345-8164 for a free estimate on your bathroom repair or remodel. Upfront pricing, no surprises, and the 730-Day Done Right Promise on every project.
Written by the team at Groundwork Construction Co. of Long Beach.
Also worth knowing as you plan the rest of your home’s upgrades: our Groundwork Construction Co. of Long Beach home page covers the full scope, our Driveway & Pavers in Long Beach service handles the outdoor side, Fence Installation in Long Beach rounds out the property, and Home Additions & ADU in Long Beach is the move when the bathroom needs more than a repair.