Last updated November 17, 2026





Free written scope consultation - allowances, timeline, and change-order rules on paper before a single trade is scheduled
Bathroom Remodeling Maintenance Schedule: What to Do and When
Most bathroom remodels show their first failure signs within 18 months. Not because the tile was set wrong or the waterproofing was skipped, but because nobody handed the homeowner a plan for what happens after the last tube of caulk dries. Grout hairline-cracks, exhaust fans clog, and shower trim slowly loosens while the warranty clock is still ticking. In Long Beach, salt air and moderately hard water accelerate all three. What follows is the maintenance calendar we wish every homeowner had on their fridge the day we finished their bathroom: month-by-month through year one, then a simple annual rhythm to carry you through the life of the remodel. It’s written for real bathrooms in real Long Beach homes, not a showroom.
Quick Answer
Inspect grout and caulk in the shower and around the tub every 3 months for the first year, then twice a year after that, and clean the exhaust fan every 6 months. Reseal stone and grout annually, and re-caulk wet joints every 2 to 3 years depending on shower traffic. Keeping records of these tasks protects your workmanship warranty. Skipping them, or using the wrong cleaners, can void it.
Styles & brands we work with
- Kitchen remodeling
- Bathroom remodeling
- Home additions & ADU
- Roofing
- Windows & doors
- Driveway & pavers
- Fence
Table of Contents
- The First 90 Days: Your Post-Move-In Inspection
- Grout and Caulk: The Real Schedule (Wet-Zone Traffic, Not Generic Annual Advice)
- Exhaust Fan Maintenance: The Task That Protects Your Waterproofing
- What Protects Your Workmanship Warranty vs. What Voids It
- Long Beach-Specific Care: Salt Air and Hard Water
- The Seasonal Checklist Framework
- Year Two and Beyond: The Long-Haul Rhythm
- When a Maintenance Task Becomes a Repair Job
The First 90 Days: Your Post-Move-In Inspection
The first three months after a bathroom remodel are when the building materials settle, shrink, and cure. Caulk pulls slightly as it fully cures. Wood trim acclimates to your home’s humidity. Grout in a newly tiled shower goes through its first real test the first time you run that shower at full heat for a week straight. This is the window where you catch small issues before they become warranty disputes.
We recommend a simple, dated walkthrough at 30, 60, and 90 days. Grab a phone flashlight, a roll of blue painter’s tape, and ten minutes. Mark anything that looks off with tape so you can describe it clearly to your contractor.
- Day 30: Press on every caulk joint in the shower, around the tub, and at the base of the toilet. If the caulk is soft or peeling at the edge, mark it. Check that the shower drain trim ring is snug with no movement. Run the exhaust fan for 15 minutes and listen for rattling.
- Day 60: Look for hairline cracks in grout at the corners of the shower floor and where the wall tile meets the floor tile. Small cracks there are normal; cracks wider than a hair, or any grout that crumbles when you touch it, are worth a call. Check the base of the vanity cabinets for signs of moisture.
- Day 90: Confirm the toilet doesn’t rock, the sink drains at full speed, and no water stains appear on the ceiling below the bathroom. Take dated photos of every wet zone. Those photos are your baseline if a warranty question comes up later.
Most of what we see in Long Beach at the 90-day mark is minor: a caulk line that needs touching up, or a grout joint at a shower corner that needs a small re-fill. Those are normal, and any contractor standing behind their work will address them under warranty. Catching them at day 90 rather than month 18 is what keeps a small fix small.
Grout and Caulk: The Real Schedule (Wet-Zone Traffic, Not Generic Annual Advice)
Generic advice says “inspect your grout annually.” That’s fine for a guest bathroom nobody showers in. It’s wrong for the master shower two people use twice a day. Grout and caulk inspect and reseal schedule should be based on how many showers that wet zone actually serves per week, not the calendar.
- High-traffic wet zone (master bath, daily showers, 2+ users): inspect grout and caulk every 3 months, reseal grout every 12 months, re-caulk shower and tub joints every 2 to 3 years.
- Medium-traffic wet zone (hall bath, daily showers, 1 user): inspect every 4 to 6 months, reseal grout every 12 to 18 months, re-caulk every 3 to 4 years.
- Low-traffic wet zone (guest or half bath, used a few times a week): inspect annually, reseal grout every 18 to 24 months, re-caulk as needed.
What to actually look for during an inspection: grout that has changed color (usually a sign of trapped moisture), caulk that has pulled away from either surface, dark spots in the caulk bead, and any soft spot when you press on the joint. Caulk should feel firm, not tacky. If it’s tacky, it’s failing.
When you do re-caulk, use 100% silicone in the shower and around the tub, not “painter’s caulk” or acrylic-latex. Silicone flexes with the small movement between wall and floor and it doesn’t mold as easily. The 3-year cycle most contractors quote assumes silicone. If your original contractor used acrylic, expect re-caulking more often, sometimes every 12 to 18 months.
One more Long Beach note: our beach-adjacent humidity means shower moisture lingers longer than it does inland. In Seal Beach, Belmont Shore, and Naples homes, we see silicone start to fail along the shower base at around 24 months more often than the 36-month mark. It’s not the caulk’s fault. It’s the air. Plan for that.
Exhaust Fan Maintenance: The Task That Protects Your Waterproofing
An exhaust fan that isn’t moving enough air is the single most common cause of moisture damage in bathrooms. It’s also the task most homeowners never touch. A fan that runs 20 minutes after every shower pulls out the moisture that would otherwise sit on your grout, your paint, and behind your tile. A fan that’s clogged with dust, or vented into the attic rather than outside, does the opposite: it recirculates humid air and accelerates exactly the damage your waterproofing was designed to prevent.
The task list is short. What matters is that it happens on a schedule.
- Every 6 months: Remove the fan grille (it usually pulls straight down or has spring clips). Vacuum the grille and the visible fan blades with a soft brush attachment. Dust buildup on blades cuts airflow by 30% or more.
- Every 12 months: From the attic, check that the fan’s ductwork is still connected to the exterior vent hood and not blown off. This is a 5-minute check, but we find disconnected ducts in maybe 1 out of every 6 Long Beach homes we open up. When a duct is disconnected, the fan is dumping shower moisture directly into the attic insulation.
- Every 2 to 3 years: Replace the fan motor or the whole fan unit. Most builder-grade fans last 3 to 5 years of daily use, some cheaper models less. If the fan is louder than it used to be, or doesn’t clear the mirror in 10 minutes after a shower, replace it.
On timing: run the fan during every shower and 20 minutes after. Not 5 minutes. Not “until it feels dry.” Twenty minutes clears the moisture load from a normal shower. Bathroom remodels with steam showers or rainfall heads need 30 minutes or a humidity-sensing fan that runs until the room is dry.
If the fan in your newly remodeled bathroom seems underpowered, that’s worth a warranty call. A properly sized fan for a typical Long Beach master bath moves 80 to 110 CFM. A smaller unit that was specified for a powder room won’t do the job in a 5-by-8 bathroom, and it’s the kind of detail we spec carefully because it protects everything else above and around it.
What Protects Your Workmanship Warranty vs. What Voids It
A workmanship warranty is only as good as the conditions it covers. Most homeowners assume any failure in a remodeled bathroom is covered. In reality, there’s a clear line between what protects your warranty and what voids it, and it’s almost always about maintenance records and product misuse. The 730-Day Done Right Promise we offer at Groundwork Construction Co. of Long Beach exists to cover genuine workmanship failures: tile that lifts, a shower pan that fails, plumbing that leaks at a joint. It does not cover the parts of the bathroom damaged by neglected maintenance or by a homeowner’s choices after move-in.
What protects your warranty:
- Dated photos of your 30/60/90-day inspections and every annual check that follows. Photos are the single most valuable thing you can keep.
- Cleaning products that are safe for the surfaces installed. pH-neutral tile cleaners for grout, stone-specific cleaners for natural stone, no bleach or acidic cleaners on natural stone or on metal finishes.
- Prompt reporting of any leak, crack, or failure. Wait a week and a small grout crack can become a subfloor problem the warranty may exclude.
- Keeping receipts on any exhaust fan, water heater, or fixture you replace. Maintenance replacements don’t void anything, but they document that you’ve kept the system current.
What can void your warranty:
- Using strong acidic or abrasive cleaners in the shower. The wrong cleaner etches grout, strips sealer, and can pit chrome and brushed-brass finishes in a matter of months.
- Ignoring an active leak until it causes visible damage or structural issues. Most warranties exclude damage that continued after a known failure.
- Doing your own repairs in the same area the contractor warrantied, like re-caulking with the wrong product, patching grout with an unmatching mix, or “sealing” a shower pan with a coat of clear finish.
- Disabling or removing the exhaust fan for any length of time. Moisture damage from a fan that’s unplugged is not a workmanship issue.
This is why we hand every homeowner a written maintenance schedule at project close, not just a warranty card. The schedule is what makes the guarantee usable. If you’re comparing contractors for an upcoming bathroom remodel, ask what their post-move-in maintenance standard is. A contractor who doesn’t have one has already decided that your bathroom’s warranty is mostly for show. If you’re weighing the value of a remodel against the maintenance, our Groundwork Construction Co. of Long Beach home page has the service overview. If your bathroom remodel bleeds into a larger project, like converting an adjacent closet into a shower or adding onto the home, see Home Additions & ADU in Long Beach for scope.
Long Beach-Specific Care: Salt Air and Hard Water
Long Beach has two environmental factors that change bathroom maintenance compared to inland Southern California: salt air (along the coast) and moderately hard water (throughout most of the city). If you want to know why your chrome faucet is spotting faster than your friend’s over in Claremont, those two things are why.
Salt air. Homes in Belmont Shore, Naples, and the Peninsula get marine air that deposits fine salt film on everything metal. That film is mildly corrosive. It attacks chrome-plated fixtures, brushed-brass, and matte-black hardware first because those finishes have a thinner protective layer. In those neighborhoods, wipe down metal fixtures with a damp cloth and dry them immediately after every shower. It’s a 30-second habit. It doubles the life of a plumbing finish. If you have visible pitting or a green tint on brass, that’s salt corrosion, not a workmanship issue.
Hard water. Long Beach water runs moderately hard, meaning it leaves calcium and magnesium deposits on glass, tile, and metal when it evaporates. That’s the chalky white film you see on shower doors and chrome after about a week. Squeegee the shower glass after every use and do a monthly descaling with a vinegar-and-water solution on tile and glass (not on natural stone, which vinegar will etch). Left alone for a year, hard-water scale bonds to grout and takes a professional to remove.
Humidity in the basin. Even inland Long Beach neighborhoods like Bixby Knolls and Lakewood get run of marine-layer humidity in June and July. In those months, run the exhaust fan for a full 30 minutes after showers. It’s a small habit that keeps the grout from staying damp overnight.
What we spec because of all three. When we plan a bathroom remodel in Long Beach, the finish selection matters as much as the tile. Porcelain tile over natural marble for the shower floor, because marble stains faster in hard water. Chrome with a physical-vapor-deposition (PVD) finish that resists salt corrosion. Epoxy or high-performance cement grout with a sealer that’s rated for our water. The maintenance schedule works only if the materials can survive the maintenance schedule.
Aesthetic upgrades matter too, and if you’re taking a wider look at the property while you’re in remodel-mode, we handle Driveway & Pavers in Long Beach with Belgard products, which hold up better under the same coastal environment.
The Seasonal Checklist Framework
Not a generic “spring cleaning” list. A working calendar with exact tasks, cadence, and the reason each one matters. Print it, or put it in your calendar app as recurring reminders.
Monthly (10 minutes):
- Wipe down metal fixtures with a damp cloth and dry. Salt air film builds within days; a monthly wipe slows corrosion meaningfully.
- Squeegee shower glass after every use. Monthly, descale with a 1:1 white vinegar and water mix on glass and porcelain tile, not on natural stone.
- Look at the caulk line at the shower base and the base of the toilet. Press a thumb on each. If the caulk feels soft or has pulled a millimeter away from either surface, mark it for re-caulk.
Every 3 months (20 minutes):
- Inspect all grout in the shower, tub surround, and floor. Look for cracks wider than a hair, crumbling, or color change. Photograph each zone and date the photo.
- Press on every tile in the shower floor. A hollow sound or tile that moves under pressure is a warranty call, not a maintenance task.
- Run the fan for 20 minutes and check that it moves air. A piece of toilet paper held near the grille should stick to it.
Every 6 months (45 minutes):
- Remove the exhaust fan grille, vacuum the blades, and check the duct in the attic. This is the task most often skipped and it matters most.
- Check the toilet for rocking by easing your weight sideways while seated. Re-tighten the closet bolts and re-shim if it moves.
- Look under the sink cabinet for moisture staining, drips at the P-trap, and any soft wood. Use a flashlight.
- Test the shower door hinges and seal. Sweep seals should glide, not skip or peel. Some shower door manufacturers will sell replacement sweeps for a few dollars; replace them at the first sign of a gap.
Every 12 months (2-3 hours):
- Reseal grout with a cement-grout sealer (skip this on epoxy grout, which doesn’t need re-sealing).
- Check and tighten the toilet tank bolts and supply line. Replace the flapper if the toilet runs intermittently.
- Inspect the exhaust fan motor for buildup, and replace the fan if it’s louder than it was or the mirror doesn’t clear in 10 minutes.
- Wipe down all fixtures, check chrome and metal finishes for pitting, and note anything that needs warranty follow-up.
Every 2 to 3 years (half-day project):
- Re-caulk all wet joints with 100% silicone. This is the one task where hiring a pro makes sense for most homeowners, because removing old caulk cleanly without damaging the tile or the substrate is the entire job.
- Replace the exhaust fan if it’s still the original builder-grade unit.
- Re-seal any natural-stone surfaces, including marble vanities and travertine floors.
If your remodel involved plumbing or electrical work that included a fence or perimeter upgrade, that’s a different maintenance cycle. See Fence Installation in Long Beach for the parallel schedule on the outside of the home.
Year Two and Beyond: The Long-Haul Rhythm
After the first year, most of the schedule smooths out. The initial flux of curing and settling is done. What remains is the annual deep-clean and the 2-to-3-year silicone replacement, plus reactive repairs when something fails.
At the 5-year mark, expect to make a few real decisions. The exhaust fan is probably on its second unit, the shower door sweeps need replacing again, and the chrome on older fixtures may have lost its finish if you’re near the coast. None of that is a bathroom remodel problem. It’s the age of the maintenance parts, which are meant to be replaced.
At the 10-year mark, we recommend a professional inspection even if nothing looks wrong. Grout failures often hide beneath the tile. A shower pan can begin to leak through a hairline crack in the mortar bed long before it shows on a ceiling below. An inspection catches it before the subfloor does. Most of our 10-year inspections turn up nothing; a few turn up a shower pan that needs a $300 fix versus a $4,000 subfloor repair.
The workmanship warranty on the remodel itself is a 730-Day Done Right Promise. During that time, you have full protection: if something we installed fails, we make it right. But the promise assumes you’ve maintained the bathroom per the schedule we hand you at close. That’s not fine print; it’s how any workmanship guarantee stays fair. A shower pan we installed that failed under normal use is our issue. A shower pan that failed after a year of an unplugged fan and hard-water scale is an avoidable outcome, and keeping the schedule is how you stay on the covered side of the line.
One thing we do recommend across all our service lines: keep one physical folder with the signed contract, the material specs, the warranty document, and dated photos. Move it with the house if you sell. Future buyers value the record, and it’s the one thing that turns a remodel into an asset rather than a liability when it’s time to sell.
When a Maintenance Task Becomes a Repair Job
Most of this guide covers maintenance tasks a homeowner can handle. Some tasks cross the line into work that should be done by a pro, either because of the tooling, the risk, or the workmanship warranty.
- Any tile that sounds hollow, moves under pressure, or has separated from the substrate. This is a waterproofing failure. It’s a warranty call, not a caulk job.
- A shower pan that leaks. Always a pro. Pan failures are almost always hidden until the ceiling below shows damage, and by then it’s both a waterproofing repair and a structural repair.
- Re-caulking a shower for the first time. You can do it. Old caulk removal is the entire challenge, and a pro gets a cleaner cut in a fraction of the time. The DIY savings are real, but if the original caulk was installed poorly, the wrong new caulk or a gap in the seal makes the problem worse.
- Any moisture behind a wall or under a floor. Pop the baseboard and check for moisture before assuming the remodel has failed. Sometimes it’s plumbing from above; sometimes it’s an exterior leak. Both need a pro.
- Exhaust fan replacement in a bathroom with attic access issues. Replacing a fan is a 30-minute job with clear access. It’s a 2-hour job when the attic is tight or the duct has to be re-routed.
Any of these, in any Long Beach neighborhood, is worth a call. We’ve opened enough bathroom walls in this city to know which failures are homeowner-fixable and which are symptoms of something bigger.
Common Mistakes to Avoid
- Using bleach or acidic cleaners on natural stone. Both etch marble and travertine the first time you use them. If your remodel included marble, use only stone-specific pH-neutral cleaner.
- Skipping the exhaust fan cleaning. It’s the cheapest maintenance on the list and the one with the highest downstream cost when neglected. A dust-clogged fan recirculates humidity into the walls, where it starts softening drywall and feeding mold behind the tile.
- Re-caulking with acrylic latex to save a few dollars. Acrylic fails in shower wet zones within 12 to 18 months, especially in coastal Long Beach homes. Silicone to start, silicone to replace.
- Waiting until a leak drips to call. A small grout crack or a slightly separated caulk joint is a 10-minute fix. A year of moisture through the same crack is a subfloor repair. The schedule is designed to catch it at 10 minutes, not 10 months.
- Wiping fixtures with a paper towel or a cloth that holds residual salt. Microfiber cloths rinsed in plain water and aired dry between uses are the safest. Reused damp cloths leave salt and hard-water film behind and multiply the corrosion issue.
- Squeegeeing the shower glass only when it looks dirty. By the time it looks dirty, hard-water scale has already bonded. Squeegee after every shower; it’s the smallest habit on the list and the one that saves the most on glass replacement.
- Assuming any bathroom problem is a warranty claim. Read the warranty. Most will clearly spell out what’s covered (workmanship) and what’s excluded (maintenance, misuse, damage from a known issue that continued). Understanding that line in year one keeps a warranty usable in year two.
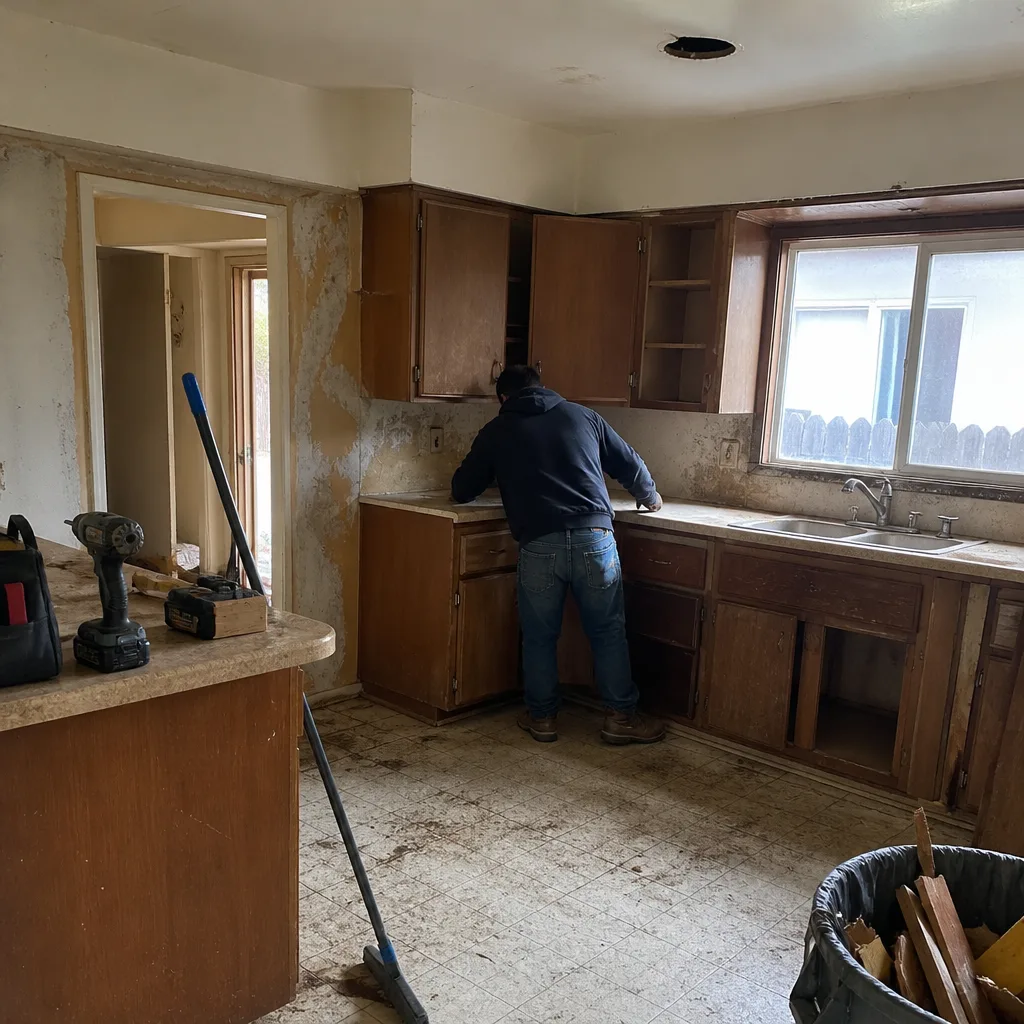
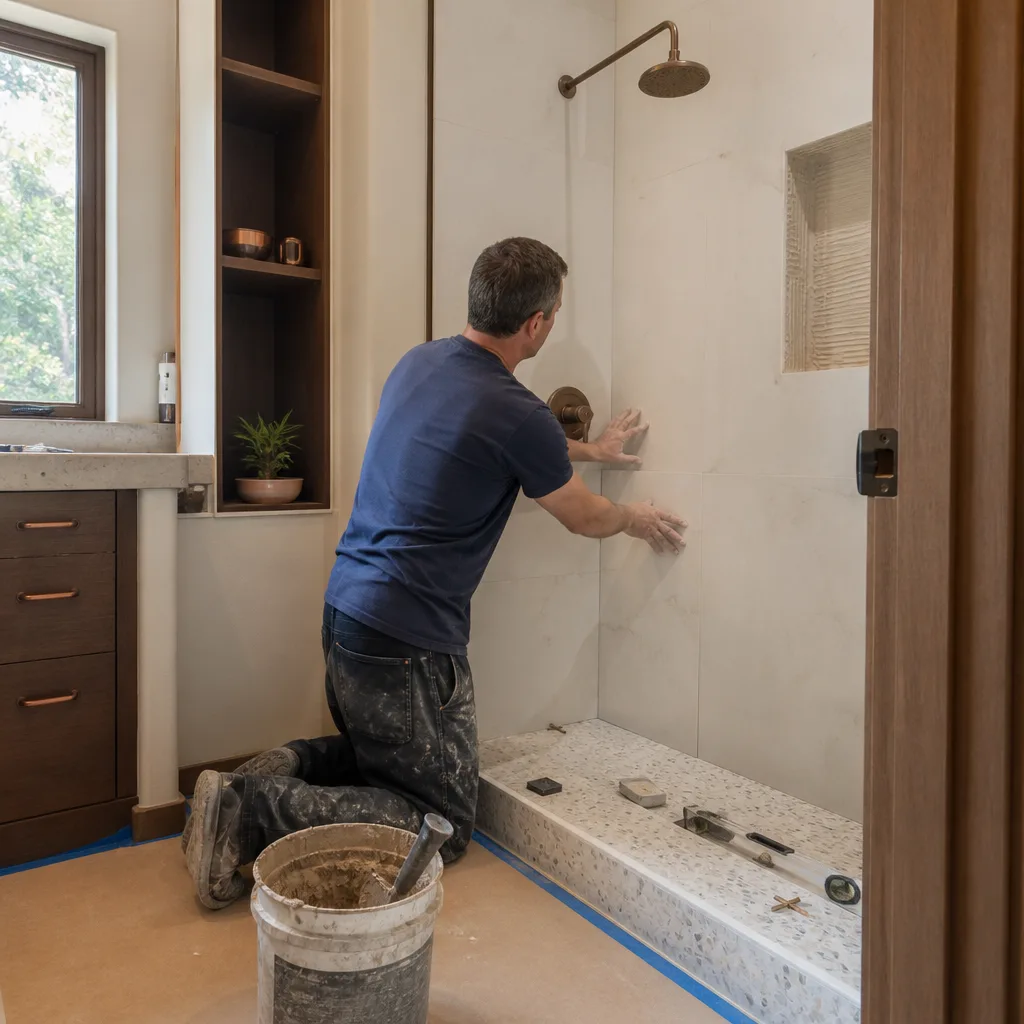
See the difference
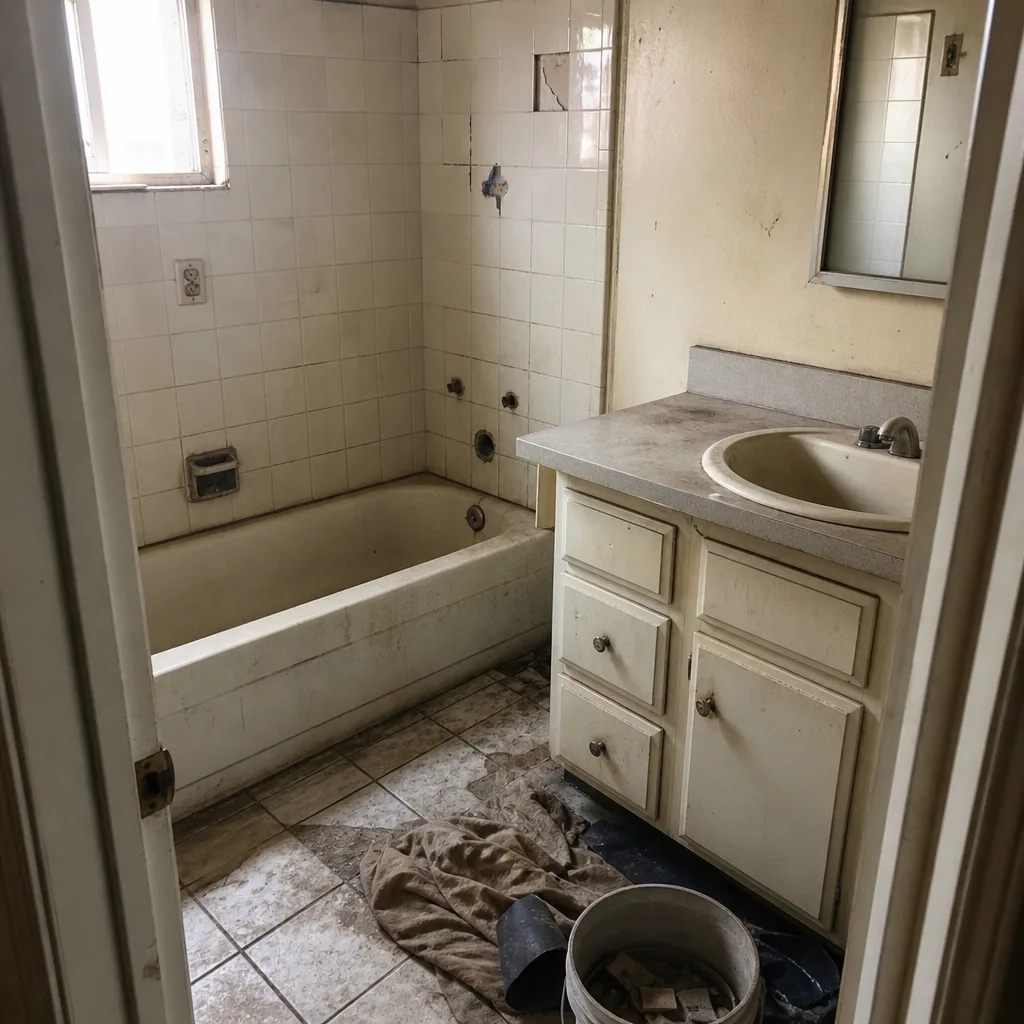 Before
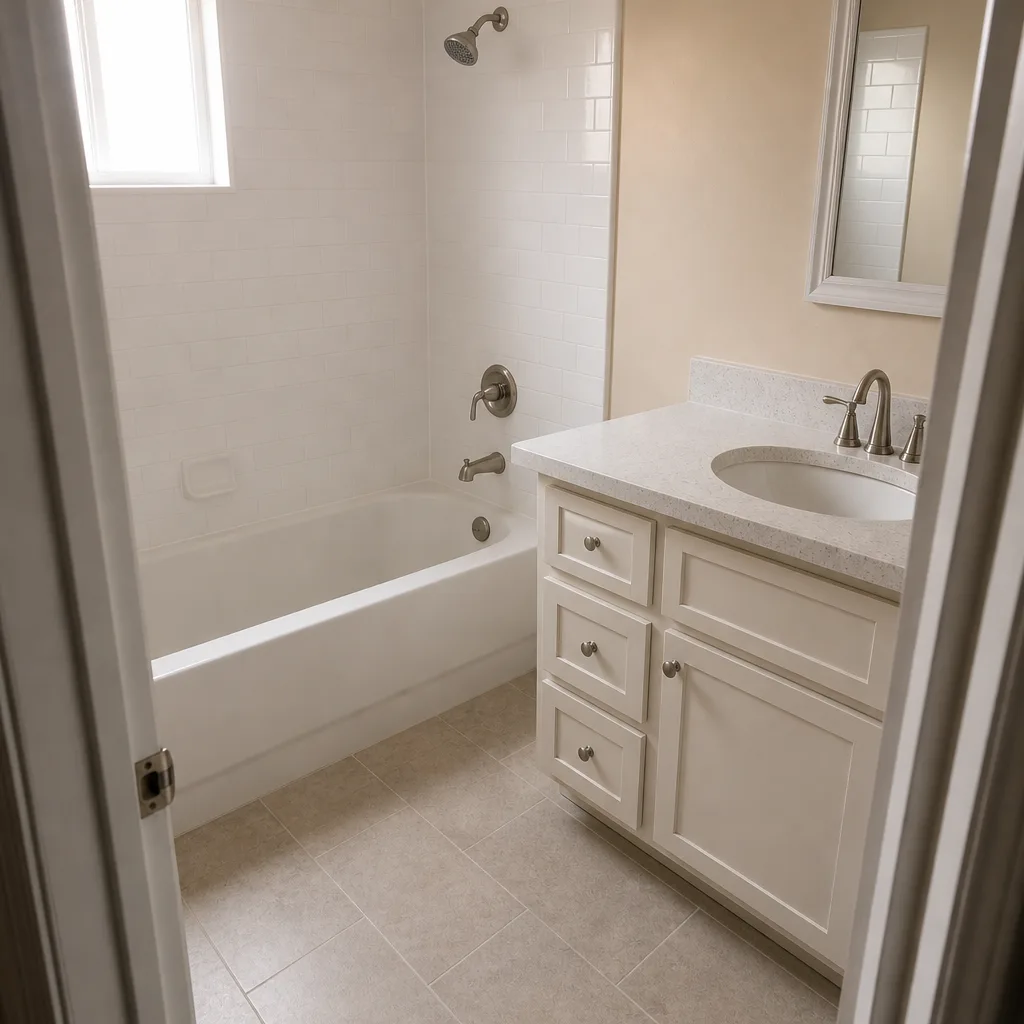 After
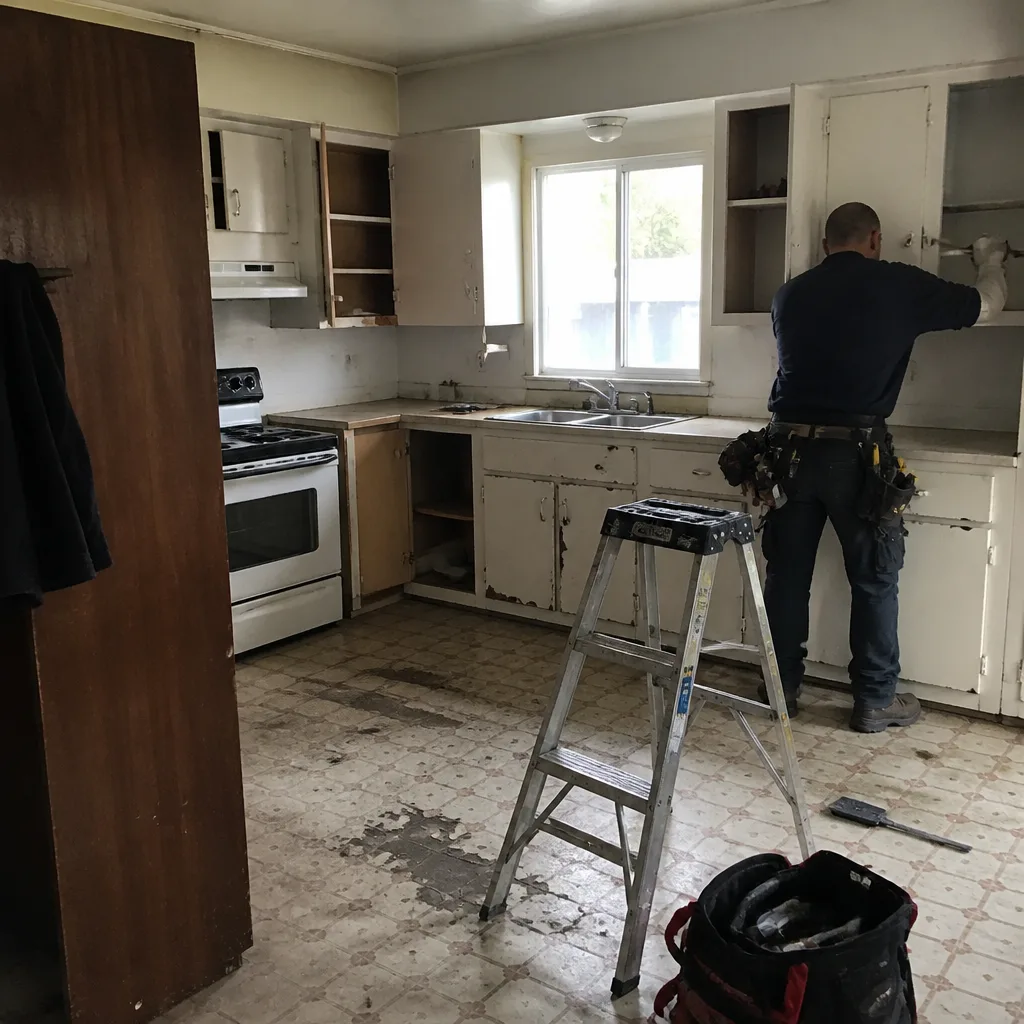 Before
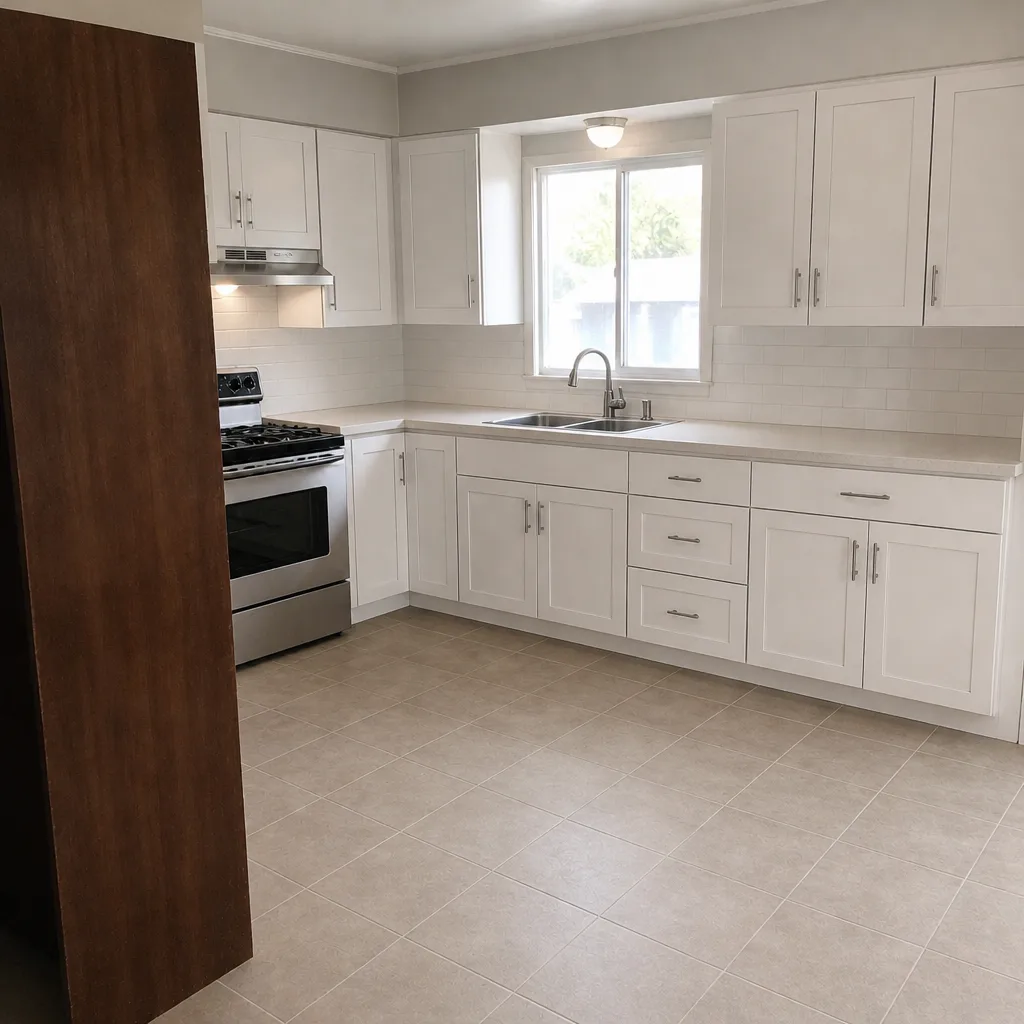 After
 Before
 After
When to Call a Professional
Call us when the issue crosses from maintenance into repair. That means tile that’s moved off its substrate, a shower pan that shows signs of leaking, moisture appearing behind a wall or on the ceiling below the bathroom, or a waterproofing failure you can see. Also call for the once-every-2-to-3-year silicone re-caulk if you’d rather not handle old caulk removal yourself. In Long Beach, we also see salt-air corrosion that’s advanced past cleaning (pitting, green tint on brass) and hard-water scaling that’s bonded to the grout. Both need a pro, and both are worth getting ahead of. Groundwork Construction Co. of Long Beach offers free estimates in Long Beach; call (888) 345-8164 and we’ll send a technician who’s worked every bathroom scenario this coast can throw at you.
Frequently Asked Questions
Every 12 months for high-traffic showers and every 12 to 18 months for medium-use bathrooms. Long Beach’s moderately hard water and coastal humidity shorten the sealer’s effective life compared to inland homes, so plan on the shorter end of that range. Skip resealing if you have epoxy grout, which doesn’t need it. Call (888) 345-8164 if you’d like a maintenance plan with the exact cadence for your specific bathroom.
Neglected maintenance can exclude specific warranty claims for failures it causes, particularly moisture damage from a clogged exhaust fan, damage from the wrong cleaners, or continued damage from an unreported leak. The 730-Day Done Right Promise covers workmanship failures. It doesn’t cover the effects of tasks from your maintenance schedule being skipped for a year or more. Dated photos from each check are the easiest insurance against a dispute.
Salt air. Coastal Long Beach neighborhoods like Belmont Shore, Naples, and the Peninsula get fine salt film on metal finishes that inland homes don’t. Salt accelerates spotting and eventually corrosion on chrome, brushed brass, and matte black. Wipe and dry metal fixtures after every shower and once more per week.
Every 6 months for the grille and blades, and a duct check in the attic once a year. It matters a lot. A clogged or disconnected fan lets shower moisture build up in walls and behind tile, and that’s the most common cause of the moisture issues we find in Long Beach bathrooms. It’s also the cheapest task on the schedule. If the fan isn’t clearing the mirror in 10 minutes after a shower, it’s time to replace it.
You can, and for many homeowners it’s a reasonable 2-hour DIY project if you’re comfortable removing old caulk cleanly. The challenge is removal, not application. If the caulk joint is badly deteriorated or has been leaking, hire a pro; there may be underlying moisture that needs to dry properly before new silicone can seal. If you’d rather not handle it, call (888) 345-8164 for a maintenance quote.
The exhaust fan, then the shower caulk joint at the base. The fan is usually builder-grade and lasts 3 to 5 years of daily use. The caulk joint at the shower base typically starts to fail at around 24 months in coastal Long Beach because marine humidity keeps the joint damp longer than inland. Both are cheap to fix and expensive to ignore.
The Bottom Line
Your bathroom remodel is protected by three things: the materials installed, the workmanship behind them, and the maintenance schedule you run afterward. The schedule is the only one of those three you control going forward. Follow the monthly wipe-downs, the quarterly grout and caulk inspections, the twice-yearly exhaust fan cleaning, and the annual reseal. Keep dated photos. Use the right cleaners. Understand where your warranty coverage ends and where maintenance begins. In Long Beach, add the salt-air habit of drying metal fixtures daily and descaling glass monthly. Do those things and a remodel that could fail at month 18 will look like new at year 10.
If you’re in the middle of a bathroom remodel, or the one you had a few years ago is starting to show its age, we can help. Groundwork Construction Co. of Long Beach offers free project estimates and a written maintenance schedule with every bathroom project we complete. Calls are answered by a live person, 24/7, and our technicians are background-checked, arrive in uniform, and carry up to 12 years of experience each. Call (888) 345-8164 to schedule your free estimate.
Written by the team at Groundwork Construction Co. of Long Beach.