Last updated November 17, 2026



Free written scope consultation - allowances, timeline, and change-order rules on paper before a single trade is scheduled
Home Additions & ADU Troubleshooting: Common Problems and How to Fix Them
Water intrusion in a new addition isn’t a roofing problem. It’s almost always a flashing detail that got cut from the plans to save money, or a connection point between old and new construction that nobody took responsibility for. Knowing the difference saves thousands. Most of the problems we get called out to diagnose in Long Beach were actually created long before a single nail was driven – during design, during permitting, or during the handoff between the architect and the crew. This guide works backward from the symptoms you’re seeing to the root cause, so you can figure out what actually went wrong, who owns it, and what it really takes to fix it without paying twice for the same square footage.
Quick Answer
Most home addition and ADU problems fall into three buckets: structural connection failures where the new framing meets the old house, systems that were never upsized for the added square footage (HVAC, electrical, plumbing venting), and code-compliance gaps like Title 24 energy rules, smoke and CO detector placement, and egress windows that only surface at final inspection. The fix depends on whether the error originated in the plans, in the field, or in the inspection process – and that determines whether your contractor, their license bond, or the state comes into play.
Styles & brands we work with
- Kitchen remodeling
- Bathroom remodeling
- Home additions & ADU
- Roofing
- Windows & doors
- Driveway & pavers
- Fence
Table of Contents
- Structural Problems Where the Addition Meets the House
- ADU-Specific System Failures: HVAC, Electrical, and Plumbing Vents
- The Invisible Problems That Show Up at Final Inspection
- Why Water Gets In: Flashing, Transitions, and the Responsibility Gap
- What You Can Push Back On vs. What Needs a Specialist
- The Decision Tree: Contractor, Bond, or CSLB Complaint
- How to Document Everything for a Warranty or Legal Claim
- Common Mistakes to Avoid
Structural Problems Where the Addition Meets the House
The single most failure-prone part of any addition is the seam where new construction ties into the existing house. That seam carries the load of the new roof, the new floor, and often a beam that’s transferring weight from a large opening. When it’s wrong, you usually don’t see it for a year or two – then doors stop closing, cracks walk across the drywall, and the floor starts to feel spongy near the transition.
Here are the three structural failures we see most often in Long Beach additions:
- Improper beam sizing at the connection. A beam that’s undersized for the span, or one that’s been notched too deep to fit a space, sags over time. You’ll notice a dip in the ceiling line at the seam or a hump in the floor above it. The plans may specify a 4×10 where a 4×12 was actually needed once the engineer of record ran the load path with the real roof weight.
- Header deficiencies over new openings. Every new door or wide window in a load-bearing wall needs a properly sized header. We’ve pulled headers that were a 2×6 where the span called for a doubled 2×10 – it holds for a while, then the wall above starts to crack.
- Foundation tie-in failures. The new foundation needs to be positively connected to the existing footing, not just poured up against it. Without dowels or a proper keyway, the two foundations move independently during our seasonal soil expansion and contraction, and the seam between old and new opens up.
Long Beach sits on a mix of older clay soils and fill in areas near the harbor. That matters because the fill moves more than the native soil, and any addition that spans the boundary between the two will feel differential settlement sooner than an inland build would. If you’re seeing cracks concentrated at that seam, that’s the tell.
Who’s responsible depends on where the error lives. If the plans called for the wrong beam, that flows back to the designer or engineer of record. If the plans were right and the crew installed a lighter beam, that’s a contractor workmanship issue. This is exactly why we recommend getting the as-built drawings before any repair begins – it’s the only way to establish what was specified versus what was installed.
ADU-Specific System Failures: HVAC, Electrical, and Plumbing Vents
An ADU is a small building that has to perform like a full house. The systems inside it are where the shortcuts live, because you can’t see most of them once the drywall goes up. Three failures come up more than any others.
HVAC systems undersized for the new square footage
A 400-square-foot garage conversion and a 1,200-square-foot detached ADU need very different equipment. When the load calculation is skipped and someone just installs the smallest unit off the shelf, the ADU will run hot in August and cold in January, and the equipment will short-cycle itself to an early death. Long Beach’s coastal humidity and mild winters mask this for the first year – then the complaints start.
Electrical panels that weren’t upgraded before the subpanel
An ADU needs its own subpanel, and a subpanel needs capacity at the main. We routinely find additions and ADUs where a 100-amp main panel was left in place while a 60-amp subpanel was hung off it for a kitchen, a heat pump, and an EV charger. The panel overloads at peak draw, breakers trip, and at worst the panel runs hot. This is a hard no from your local building department and a fire-risk category that needs a licensed electrician to resolve, not a homeowner with a bigger breaker.
Plumbing venting errors that cause slow drains
ADUs often get added onto an existing drain line without the venting being reworked. A drain that’s vented only through the old house will pull the trap dry or gurgle, and the added fixture load on an undersized vent will make the ADU’s toilet slow to clear. You’ll notice it as a slow drain that plunges fine for a week and then returns. That’s a venting symptom, not a clog.
All three systems need to be sized in the design phase, not the install phase. If you’re planning a new ADU and want to see how scope and permitting line up, our Home Additions & ADU in Long Beach page covers the sequence from first drawing to final inspection.
The Invisible Problems That Show Up at Final Inspection
The most expensive problems are the ones that pass every rough inspection and get caught at final. Your city inspector doesn’t open walls – they look at what’s visible, and that’s exactly where these show up.
- Title 24 energy compliance failures. California’s Title 24 sets minimum standards for insulation values, window U-factors, duct sealing, and lighting wattage. A blown final on Title 24 usually traces back to windows that were swapped for a cheaper U-factor at the supply house, or duct runs that weren’t sealed to spec. Retrofitting after the fact means re-doing materials you already paid for.
- Smoke and CO detector placement violations. Combustion appliances inside an ADU trigger specific placement rules – a CO detector near the sleeping area, a smoke detector in every bedroom and in the hallway outside. Inspectors check placement room by room, and moving a detector means opening drywall.
- Egress window deficiencies. Every sleeping room needs an egress window with a clear opening of at least 5.7 square feet and a sill no higher than 44 inches from the floor. An ADU bedroom with a window that opens sideways, or one that’s installed too high because the header ran low, fails on final – and the fix usually means reframing.
- Rough grading and drainage compliance. An addition that changes the grade at the property line needs to shed water away from both houses. If the final grade pitches back toward the existing house, your inspector will flag it, and re-grading a newly installed patio is real money.
Long Beach being a coastal jurisdiction, the Title 24 envelope requirements on the west side of town lean harder on moisture control than on extreme heat or cold. That’s a detail a designer with local experience gets right and an out-of-area plan shop routinely misses.
Why Water Gets In: Flashing, Transitions, and the Responsibility Gap
Water intrusion in a new addition almost never starts with a bad roof. It starts with a transition, and it starts because transitions are the least glamorous line item in any plan set – which makes them the easiest thing to value-engineer out.
Three things cause the vast majority of water problems in additions:
Flashing details cut from the plans
Where the new roof meets the old wall, an architect will usually specify a kick-out flashing and a counter-flashing detail. When the value-engineering conversation happens, those details get simplified or dropped, and the crew does their best. Their best is fine for the first rainy season. By the second, water is wicking into the stucco and you’re looking at rot behind the wall you just finished.
The connection point with no owner
The framing contractor says the roofer was supposed to flash it. The roofer says the framer didn’t leave a proper gap. The stucco guy says he can’t stucco over what isn’t there. Nobody takes responsibility, the water keeps coming in, and the homeowner eats the cost of re-doing three trades’ work. This is the single most common reason water intrusion cases end up needing a forensic inspection before any repair can even be quoted.
Window and door transitions
Every penetration through the envelope – a window, a door, a skylight – is a place water will find if the sill flashing and the head flashing aren’t lapped correctly. On a coastal build in Long Beach, wind-driven rain pushes against south and west exposures harder than anywhere else, so a marginal window install on the inland side of town can survive what a marginal install near the water can’t.
The lesson for homeowners is simple: get the flashing details in writing before the plans go to permitting, and get the as-built photos of every transition before drywall goes up. If you’re re-roofing the existing house at the same time as the addition, our Groundwork Construction Co. of Long Beach home page covers how we sequence the two scopes so no seam gets orphaned.
What You Can Push Back On vs. What Needs a Specialist
Not every problem is a specialist problem. Knowing which is which saves you from paying for engineering on a drywall patch and from trying to DIY something that can hurt you.
You can legitimately push back with the original contractor on:
- Cosmetic drywall cracks, paint defects, or trim gaps at the new-to-old transition – these are punch-list items under warranty.
- A door or window that doesn’t latch cleanly because it was hung slightly out of plumb.
- Finishes, trim, caulking, or grade work that don’t match the plans – if the spec was clear and the install betrayed it, that’s on them.
- Water intrusion where the flashing detail is documented in the plans and the as-built photos show it wasn’t installed.
What needs a licensed specialist to diagnose and repair:
- Any structural question – sagging beams, cracking at headers, foundation movement. That’s a structural engineer and their stamp, not a handyman.
- Electrical panel capacity or subpanel wiring. That’s a licensed electrician, every time.
- HVAC sizing. That’s a load calculation from a licensed HVAC contractor, not an upsizing guess.
- Any water intrusion you can’t trace to a specific, observable failed detail. A forensic building envelope inspector can trace it without tearing out the wrong wall.
If your addition damaged or displaced part of a fence at the property line during construction, that’s a separate scope worth a licensed fencing contractor’s quote – our Fence Installation in Long Beach page covers how that repair typically works. Similarly, if the addition’s work disturbed the driveway, pavers need a specialist to reset and re-grade; our Driveway & Pavers in Long Beach page walks through what re-setting Belgard and Techo-Bloc surfaces actually involves after construction traffic.
The Decision Tree: Contractor, Bond, or CSLB Complaint
When the relationship with the contractor stalls, you need a clear next step. Work the tree in order.
Step 1: Put the issue in writing to your contractor. Describe the symptom, cite the plan sheet or the code reference, and set a reasonable response window – seven business days is standard. Do this by email so it’s timestamped. Most reasonable contractors respond here, because they know what the next step costs them.
Step 2: If the response is silence or a refusal, demand a formal warranty repair in writing. Reference the written warranty in your contract. Under California law, most residential construction work is subject to a warranty that requires the contractor to come out and inspect. Document that inspection date and time.
Step 3: If the contractor won’t perform, file a claim against their license bond. Every CSLB-licensed contractor in California must carry a bond that exists partly to cover homeowners who were harmed by a contractor who didn’t finish or didn’t do the work right. A bond claim is a formal written notice to the surety company, and it gets your contractor’s attention because their license depends on keeping the bond.
Step 4: File a complaint with the Contractors State License Board (CSLB). The CSLB investigates consumer complaints and can require the contractor to repair, refund, or face license discipline. File online or by mail with every document from steps 1 through 3 attached. The CSLB also has a mandatory arbitration process for certain disputes, so know what you’re signing when you file.
Steps 3 and 4 aren’t mutually exclusive – but do them in order, because the CSLB will ask what happened when you attempted a resolution with the contractor directly. A clean paper trail makes the whole process faster.
How to Document Everything for a Warranty or Legal Claim
Documentation wins claims. Real documentation is more than a photo of a crack. Build it as if a neutral third party will read it in two years without you in the room.
- Organize by date. Every photo, every email, every invoice in one folder, named with the date and a one-line description. Most phones will do this automatically, but check.
- Photograph the defect with context. A close-up plus a wide shot, taken at the same time. The wide shot is what proves where the problem is on the actual house.
- Keep the as-builts and the plan set. If the contract included plans, you own a copy. Keep the stamped set and the approved permit plans in the same folder.
- Keep every inspection card and sign-off. The city’s inspection record is the neutral party’s version of what happened, and it matters if a claim later disputes who did what.
- Write a dated log of every conversation. Who you spoke with, when, what they said, and what they committed to. Log it the same day while you remember.
- Get the diagnosis in writing. If a specialist inspects, get a written report on their letterhead with their license number on it. A verbal “yeah, that’s wrong” doesn’t survive a warranty dispute.
One Long Beach-specific point: if your addition was permitted through the city’s local building department, and the project required a Coastal Development Permit because it sits in the coastal zone, that CDP file is public record and can be pulled later. Include the CDP number in your documentation folder – it’s the fastest way a subsequent inspector or attorney can confirm what was actually approved.
Common Mistakes to Avoid
- Skipping the as-built photos before drywall. Once the walls close, every flashing detail you didn’t photograph becomes a “he said, she said” argument. Have the crew shoot every transition before the wrap goes on – not because you distrust them, but because a photo is worth a warranty claim.
- Letting the value-engineering conversation go unwritten. If the plan set said one thing and the crew installed another to save money, get the change order in writing and signed. In Long Beach, the most common place this bites is the flashing details and the beam sizing.
- Not upsizing the main electrical panel before the ADU. Homeowners routinely assume the existing panel has room for the ADU. It rarely does once a heat pump and a kitchen load are on it, and retrofitting a 200-amp service after the ADU is done costs more than doing it during.
- Treating Title 24 as a paperwork problem. It’s a materials-and-install problem. If the windows and duct runs aren’t spec’d for Title 24 from day one, you’re buying the same materials twice.
- Assuming the inspector caught everything. Final inspection is a visible-work inspection. It doesn’t see inside the walls, so it can’t confirm beam sizing or flashing that was detailed in the plans.
- Waiting more than 90 days to raise a problem. Long delays weaken a warranty claim. If you see a crack, a drip, or a slow drain that wasn’t there before, put it in writing within the first few weeks.
- Hiring without a written warranty in the contract. A verbal “we stand behind our work” doesn’t hold up when you’re filing against a bond. If a written warranty isn’t in the signed contract, ask for one before work starts – and count the days on it, because a short warranty isn’t a warranty.
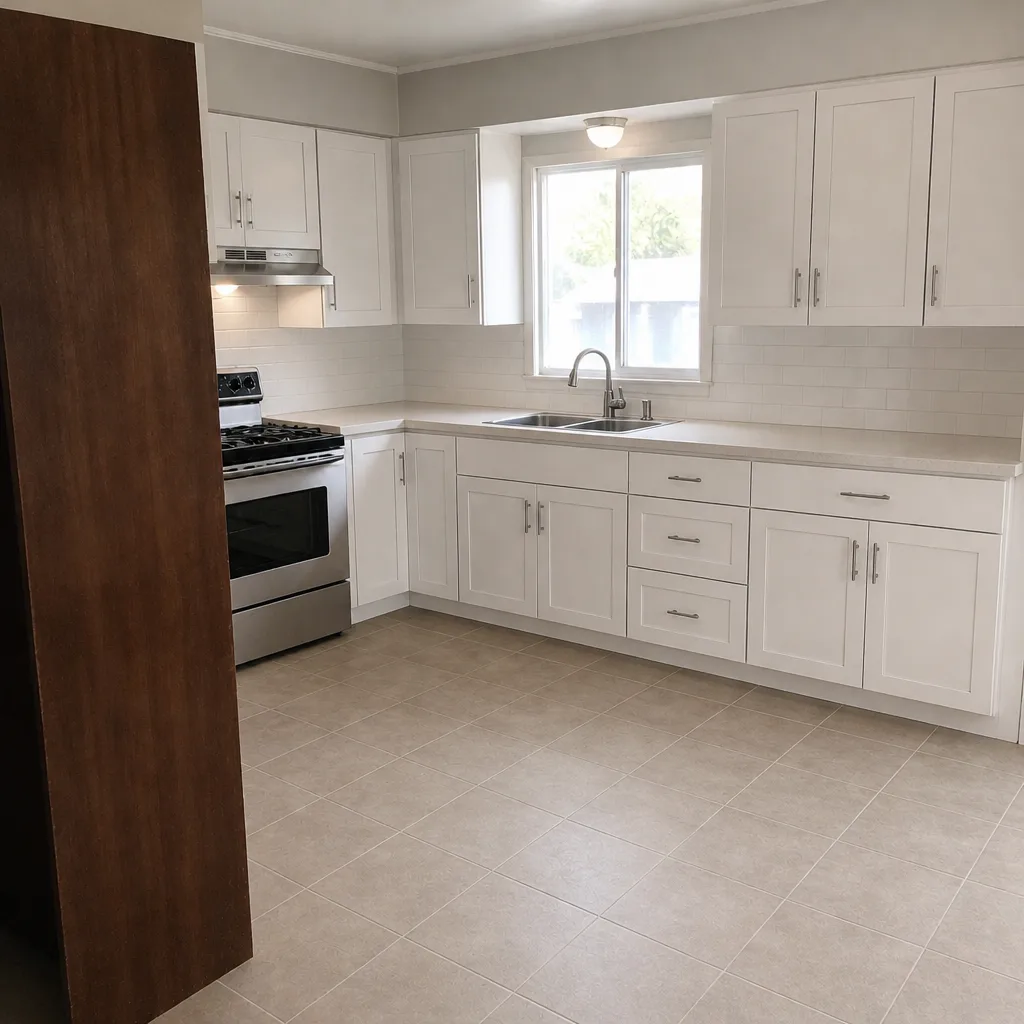
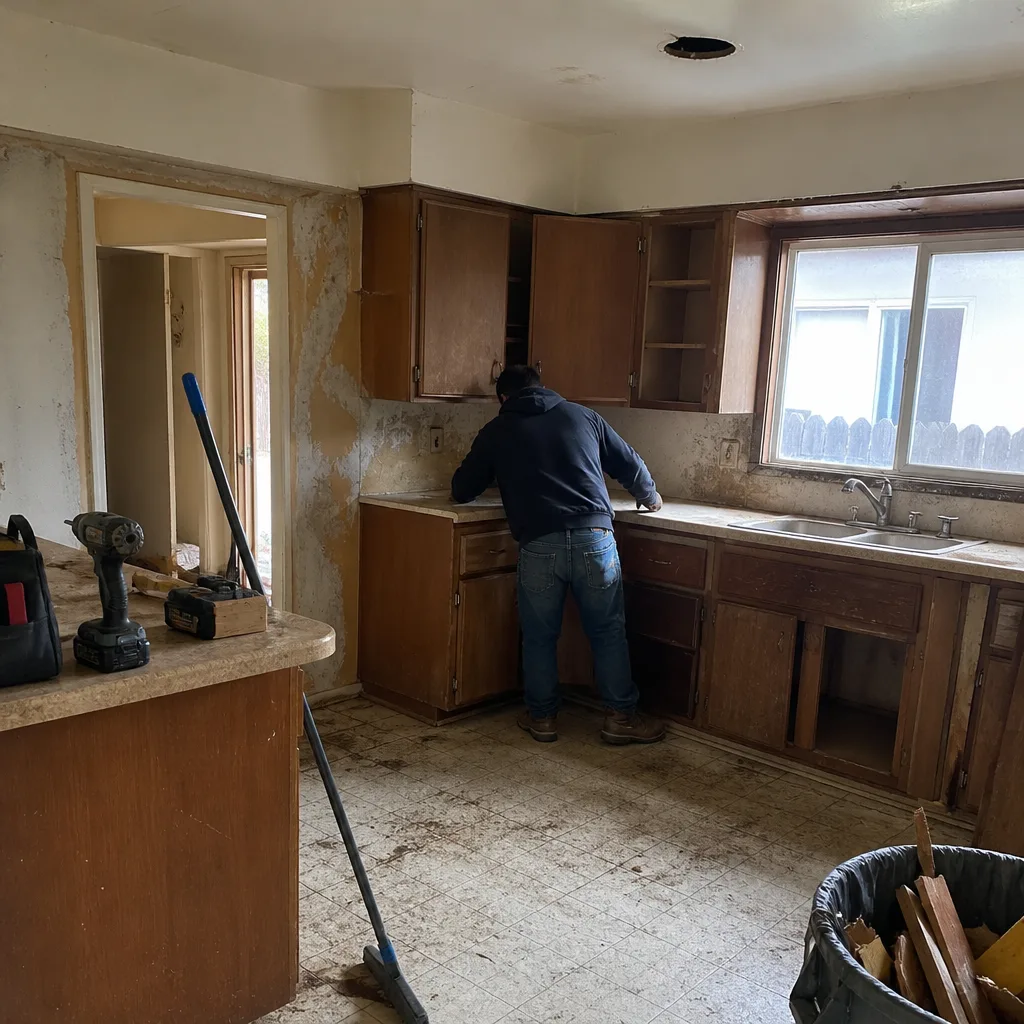
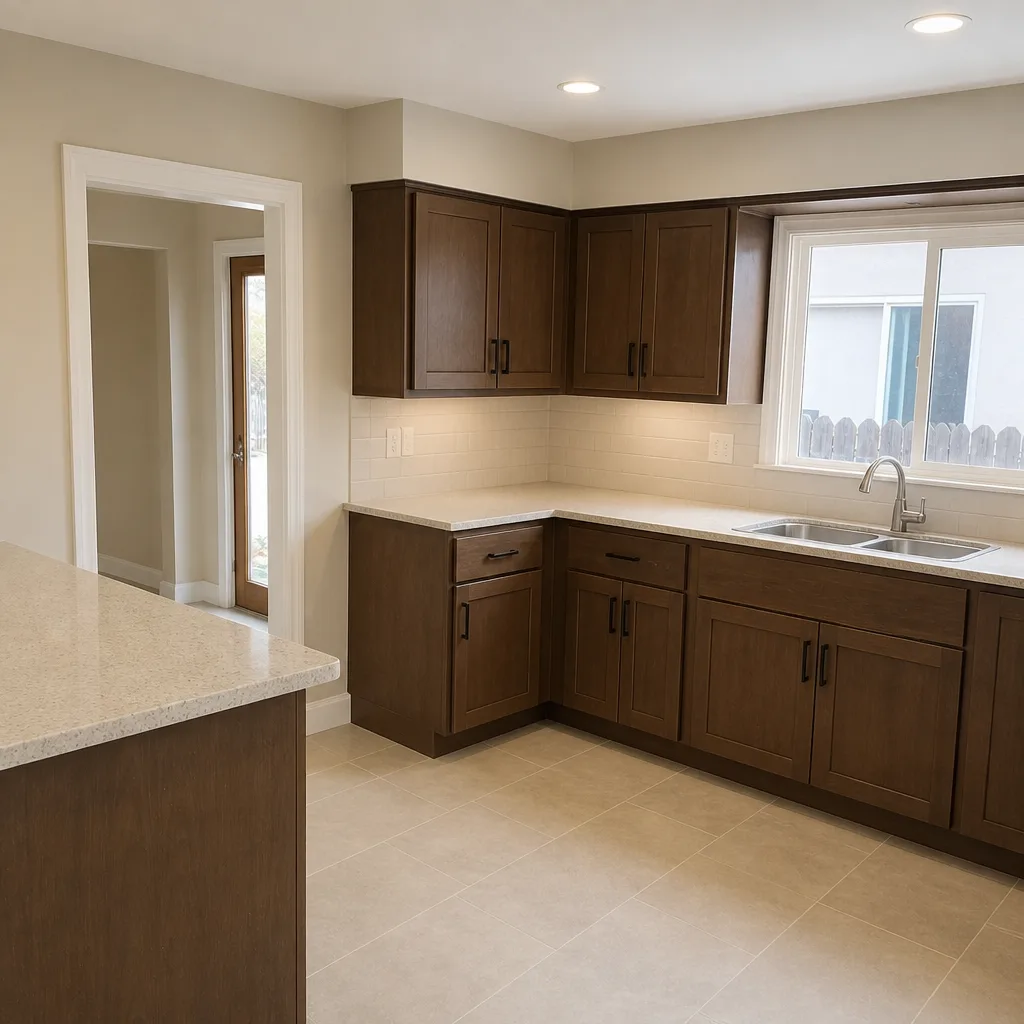
See the difference
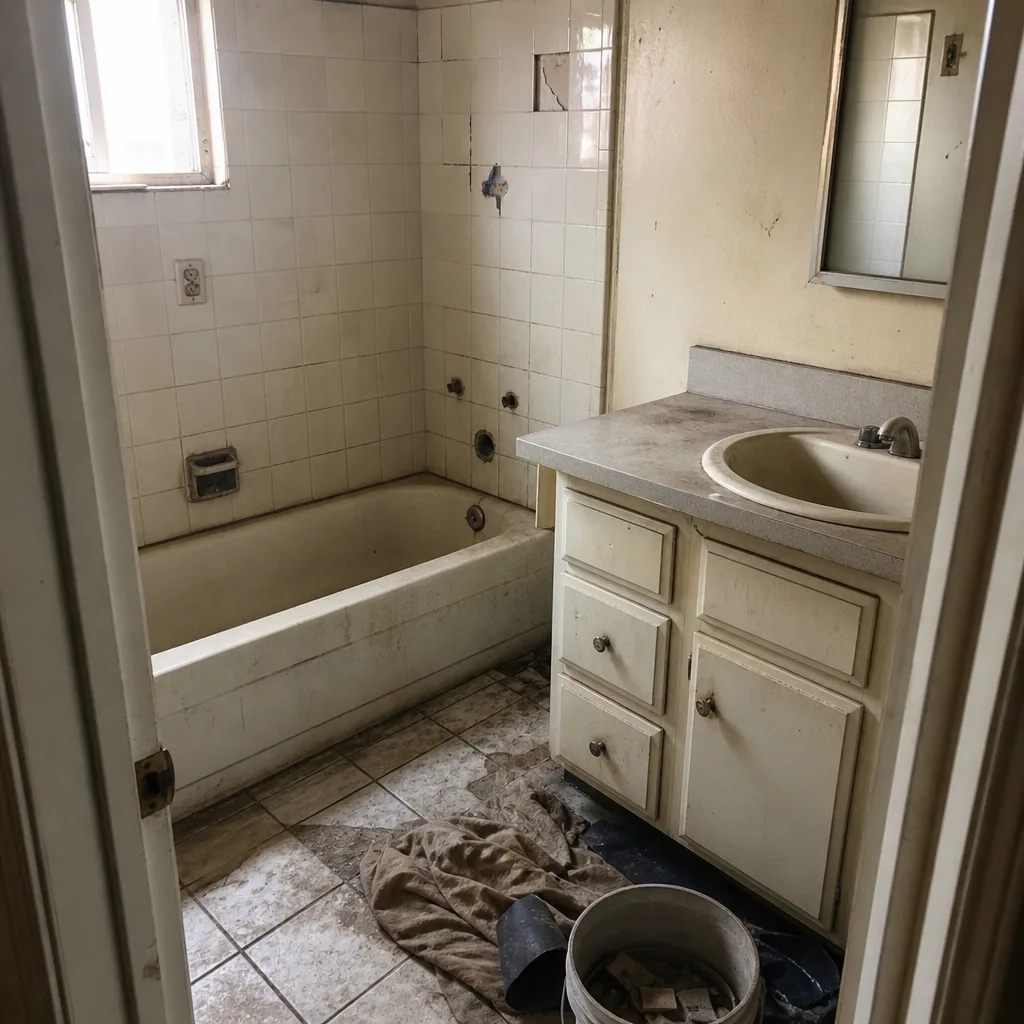 Before
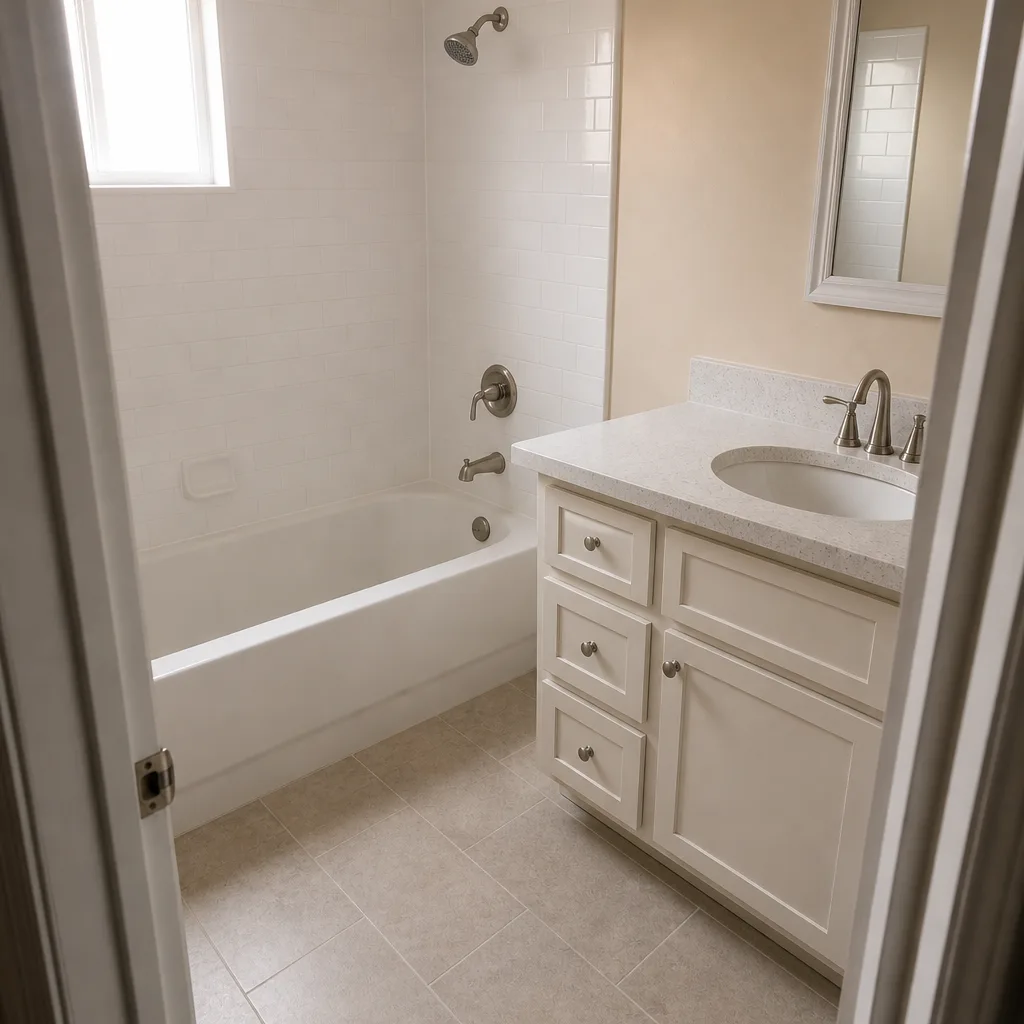 After
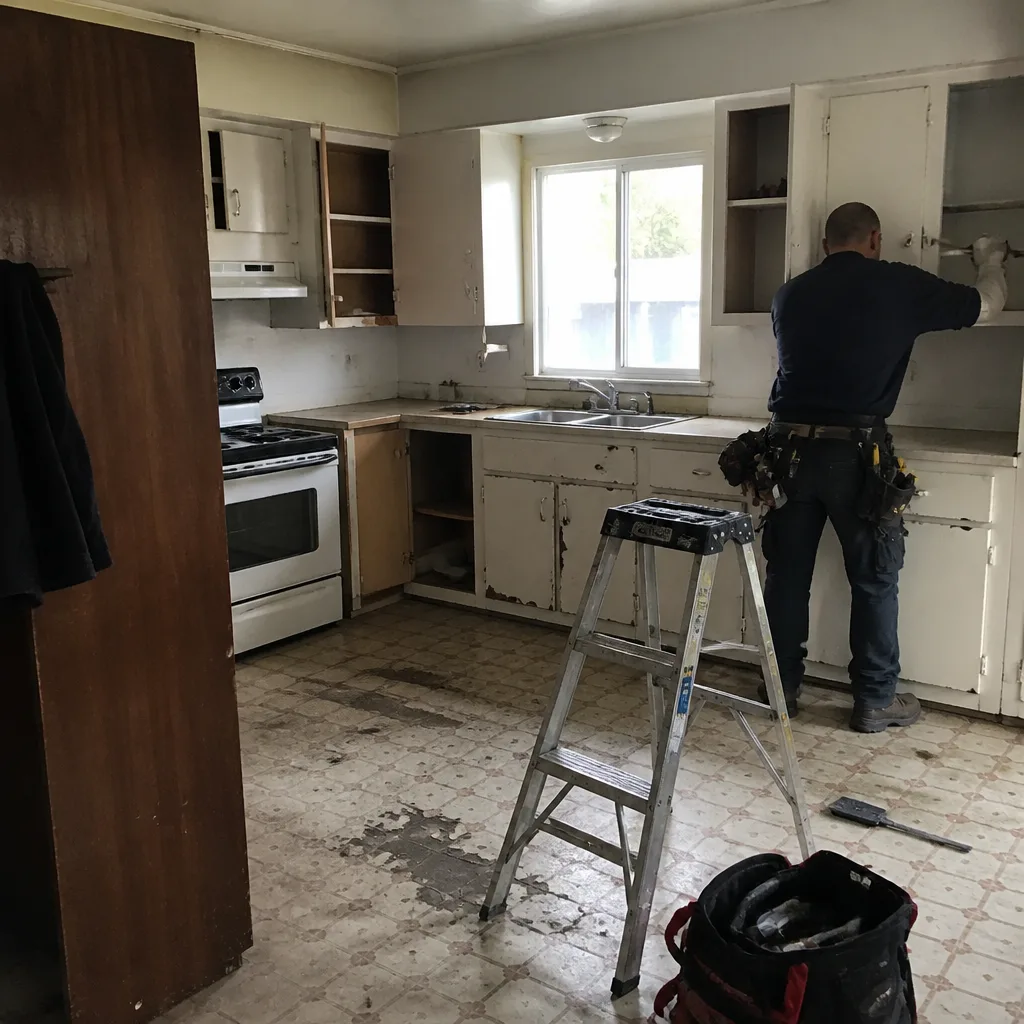 Before
 After
 Before
 After
When to Call a Professional
Call a licensed professional the moment water is coming into a finished addition, a beam is visibly sagging, the electrical panel runs warm, an ADU bathroom is slow to drain three times in a row, or an inspector has written a correction notice you don’t understand. Don’t wait for a cosmetic problem to become structural. If you’re within the warranty period on a recently completed project and any of the above have shown up, that’s a same-week call to your contractor. If you’re outside the warranty or the contractor isn’t performing, get an independent diagnosis in writing before you authorize any repair. Groundwork Construction Co. of Long Beach offers free estimates in Long Beach – call (888) 345-8164. Our technicians have up to 12 years of experience, projects run under a 730-Day Done Right Promise, and every project kicks off with a written scope.
Frequently Asked Questions
Diagnosing the source typically runs $300 to $900 for a forensic envelope inspection, and the repair itself commonly lands between $1,500 and $6,000 depending on how much stucco, flashing, and finish needs to be opened and replaced. The wide range exists because the fix depends entirely on whether the leak traces to one flashing detail or to a missed transition that damaged several trades’ work. Call (888) 345-8164 for a free estimate on the repair scope once the source is identified.
You can push back directly on anything that’s documented in the plans and wasn’t installed – that’s a workmanship issue and it’s on the contractor and their warranty. Any question about whether a beam or a header is actually adequate needs a structural engineer’s stamp. Don’t ask a handyman to weigh in on a sagging floor, and don’t authorize a repair until you have an engineer’s written report on the load path.
It shouldn’t. At Groundwork Construction Co. of Long Beach, we quote from a written scope and the number you agree to is the number you pay – no change orders on surprises, only on deliberate scope additions you approve in advance. If a contractor’s bid doesn’t include a written line-item scope, the price can change because the scope was never fixed. That’s the reason to walk away from a one-page number with no detail.
It depends on the repair. Patching stucco and re-flashing a leak typically doesn’t require a new permit, but any structural repair, any electrical panel change, and any change to egress windows does. Long Beach’s local building department will treat a structural repair as the equivalent of new work. Pull the permit before the repair, not after – unpermitted repairs can invalidate your existing warranty and complicate a future sale.
The honest way to know is the load calculation, called a Manual J on the HVAC side – it’s a written calculation from a licensed HVAC contractor, and it should match the square footage and the envelope. Symptoms that suggest undersizing include a system that runs continuously without reaching setpoint in August, or one that short-cycles every few minutes. If either is happening, don’t upsize the equipment on a guess – get the calc first.
A CSLB complaint is a regulatory action against the contractor’s license, and a bond claim is a financial claim against the contractor’s surety bond. They’re separate processes that share a lot of the same evidence, and most homeowners should attempt direct resolution with the contractor first – in writing – before filing either. California’s CSLB accepts consumer complaints online, and a bond claim is filed with the surety company named on the contractor’s license record.
The Bottom Line
Most addition and ADU problems in Long Beach start in the plans, not the field – undersized beams, flashing details that got value-engineered out, and systems that were never upsized for the new square footage. Fixing them is a question of tracing the symptom back to the source, then deciding whether that source is a workmanship claim, a design claim, or a specialist’s repair. Document everything from day one: as-built photos, plan sets, inspection cards, and dated logs. If workmanship or trust becomes the question, that’s exactly where our 730-Day Done Right Promise does its job – if it’s not done right, we make it right. Calls are answered by a live person 24/7, projects qualify for the standing $1,000 Off Projects Over $10,000 offer, and 0% financing for 18 months keeps large-scale repairs within reach.
Groundwork Construction Co. of Long Beach works from foundation to finish line, with background-checked, uniformed technicians on every project and upfront pricing so the number you see is the number you pay. If you’re weighing a repair against a full rebuild – or planning an ADU from the ground up – we’ll walk you through the scope options, including how we sequence an addition against a roof replacement or a driveway reset, and we’ll put it in writing before any work begins. Whether it’s a stucco patch and a flash detail or a load-path rebuild, the goal is the same: solve the problem once, with a documented scope and a written guarantee. Call us at (888) 345-8164 for a free estimate and take the first step toward fixing the problem without paying twice.
Written by the team at Groundwork Construction Co. of Long Beach.