Last updated November 17, 2026


Free written scope consultation - allowances, timeline, and change-order rules on paper before a single trade is scheduled
Driveway & Pavers Maintenance Schedule: What to Do and When
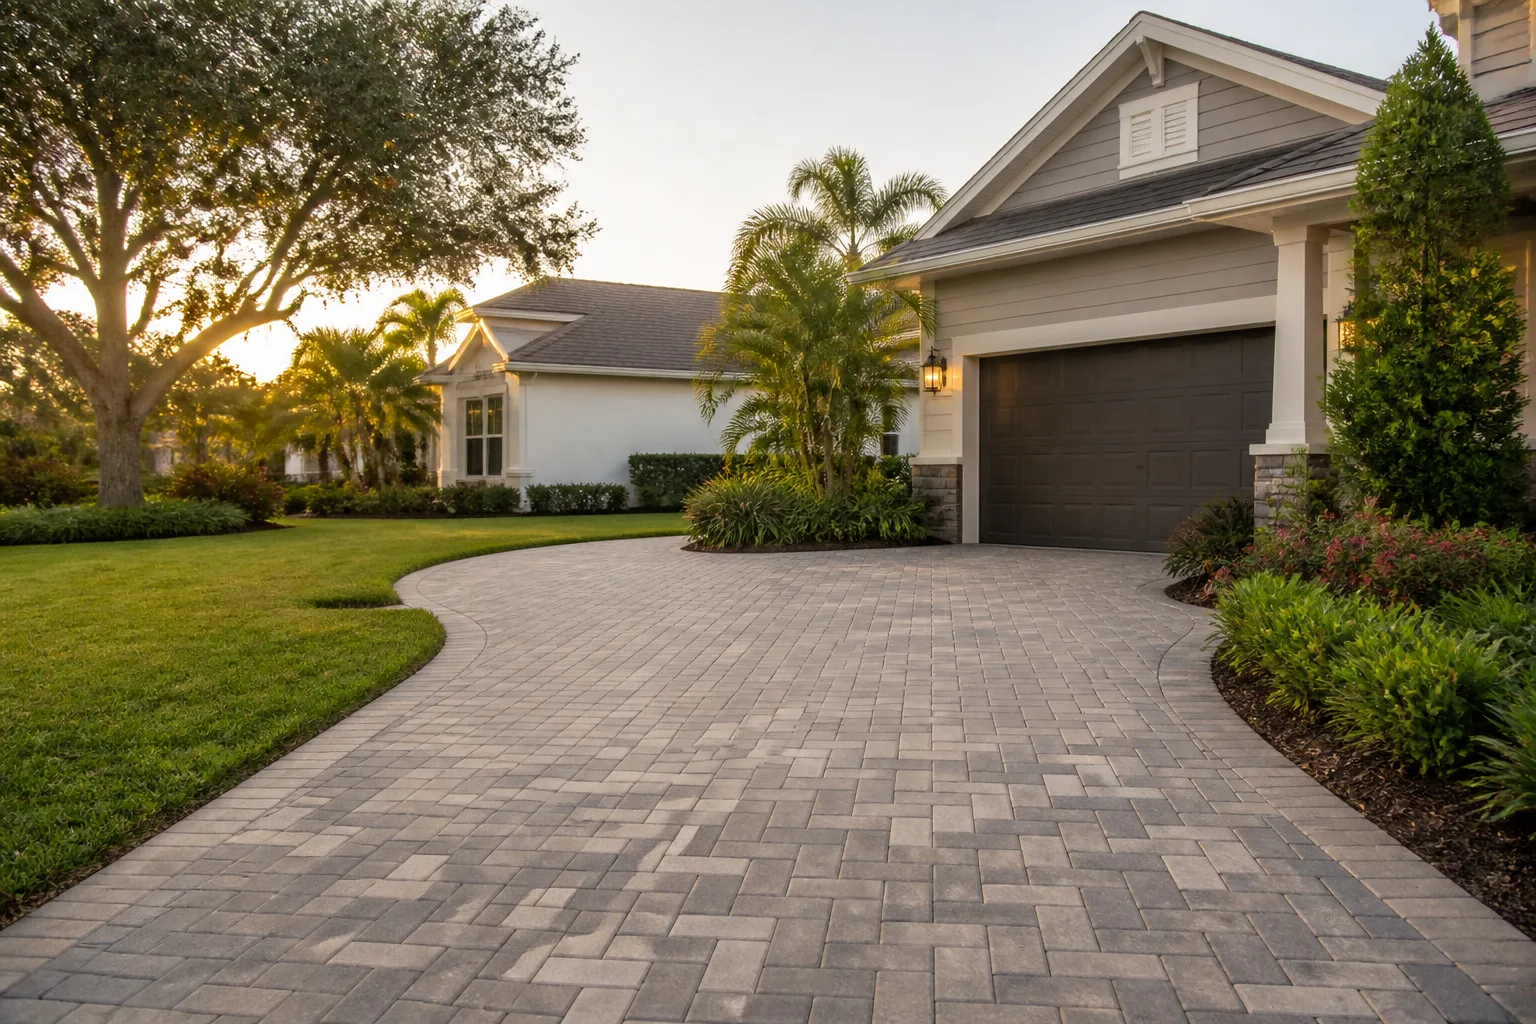
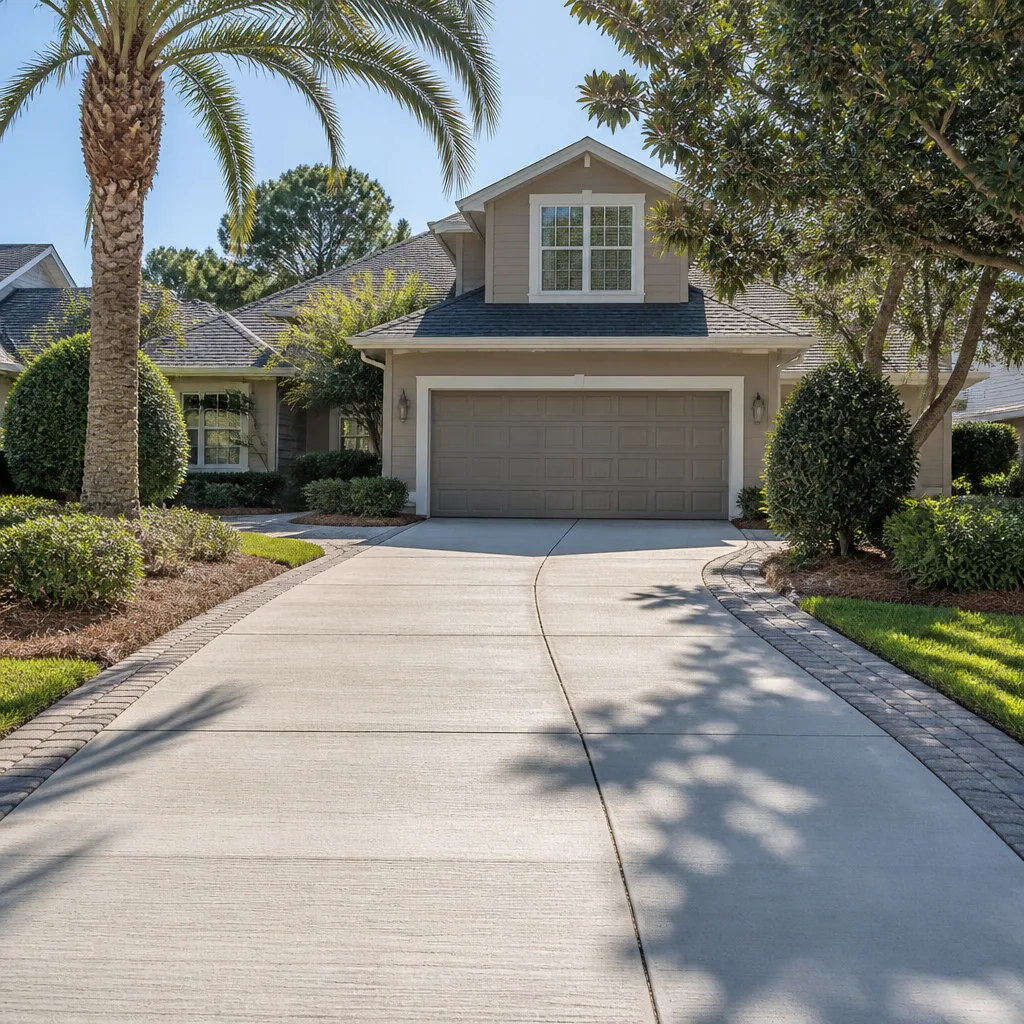
The most expensive driveway repair call we get isn’t from thirty years of neglect. It’s from one missed re-sanding after a wet winter. When joint sand washes out of a paver field, the joints open up, weed seeds settle in, and roots start physically lifting and displacing the pavers from below. By the time a homeowner notices the surface heaving, the base is already compromised and a full rebuild is on the table. In Long Beach, where we get concentrated winter rain followed by long dry stretches, this happens more than most people realize. Below is the maintenance schedule we’d hand a neighbor – built around our climate, the tasks that actually pay off, and the two annual habits that separate a twenty-five-year driveway from a seven-year one.
Quick Answer
A paver driveway needs deep maintenance once a year and a light touch-up every spring and fall. The two tasks that matter most are re-sanding joints with polymeric sand after the rainy season and stabilizing the edge restraints before winter. Sweeping, rinsing, and a ten-minute structural check round out the routine. Reseal every three to five years depending on sun and traffic, not on a blanket manufacturer sticker.
Styles & brands we work with
- Kitchen remodeling
- Bathroom remodeling
- Home additions & ADU
- Roofing
- Windows & doors
- Driveway & pavers
- Fence
Table of Contents
- Long Beach Month-by-Month Paver Schedule
- Why Polymeric Sand Is the Highest-ROI Task
- Sealer Selection and Reapplication Intervals
- The 10-Minute Annual Structural Check
- What to Do After a Heavy Rain Event
- Weed Control and Stain Removal
- Common Mistakes to Avoid
- When to Call a Professional
- Frequently Asked Questions
- The Bottom Line
Long Beach Month-by-Month Paver Schedule
Most maintenance guides hand you a four-season schedule built for Ohio and call it done. That doesn’t fit Long Beach. Our wet season lands between November and March, our dry season runs May through October, and the coastal humidity in neighborhoods like Belmont Shore and Naples is a different animal than the dry heat out toward Los Alamitos and Lakewood. Here’s the calendar we actually use on local projects.
January – February: Rain is heaviest. Do a post-storm inspection after every significant front (details further down). Don’t re-sand mid-rain, the sand won’t cure and will wash out again.
March – April: Prime re-sanding window. Once the last soaking rain passes and the pavers have dried for 48 hours, refill joints with polymeric sand and tamp it in. This is the single most important task of the year.
May – June: Pull weeds while they’re small, before they establish. Sweep off accumulated grit between pavers. If your driveway faces full afternoon sun and hasn’t been sealed in four-plus years, this is a good sealing window – warm, dry, and long daylight hours for proper curing.
July – August: Watch for efflorescence (the white chalky haze) during dry heat. A light vinegar wash handles it. Check edge restraints where the driveway meets landscaping.
September – October: Pre-winter structural check. This is the ten-minute walk-around detailed further down. Also the best window to apply a sealer if you want protection in place before the rains.
November – December: Monitor. Clear leaves from drainage paths so water doesn’t pool on impermeable paver surfaces. Inspect joints after each wet front.
Why Polymeric Sand Is the Highest-ROI Task
Polymeric sand is the joint filler between pavers. It locks the pavers together, keeps water from penetrating straight down into the base, and stops weeds from getting a foothold. When it’s intact, your driveway behaves like a single structural slab. When it washes out – and it will, especially after a wet Long Beach winter – you have thousands of 2-milimeter-wide channels inviting water into the base and weed seeds into the joints.
Here’s why it’s the highest-return maintenance item you can do:
- Cost: Re-sanding a 400-square-foot driveway runs roughly $400 to $900 in materials and labor depending on access and joint width. A full paver replacement on the same footprint runs $6,000 to $14,000 depending on stone selection and base condition.
- Protection: Properly maintained joints extend the service life of a paver driveway by a decade or more. We’ve watched poorly maintained installations in Long Beach fail at year seven; we’ve watched well-maintained ones running twenty-five years and counting.
- Time: A DIY re-sand on a small driveway takes a full weekend. A pro crew does it in three or four hours and gets the compaction right the first time.
The key timing detail in Long Beach: re-sand in March or April, not in November. Fall sand tends to wash out over the winter before it fully cures. Spring application gets you maximum coverage through the dry months and solid performance the following season. The best polymeric sands are the modern line from Belgard and similar premium brands – they don’t harden to the point where they crack, and they hold up better to foot traffic and Southern California’s UV index than the older bag mixes.
If your driveway is a new install or you’re considering replacement, the base construction and sand selection decisions made at install time drive your entire maintenance future. The Driveway & Pavers in Long Beach service page covers what a properly built base looks like and why it matters more than the pavers themselves.
Sealer Selection and Reapplication Intervals
Every sealer bottle says “reapply every two to three years.” Ignore it. That’s the safest possible recommendation for the manufacturer, not the right answer for your driveway. Reapplication intervals should reflect your specific conditions.
Here’s the framework we use:
- Full sun exposure (south- or west-facing driveway): Reseal every three years. UV degrades sealer faster than anything else, and Southern California beats that issue harder than most regions.
- Partial shade, moderate traffic: Every four to five years.
- Heavy traffic or commercial-adjacent (a home-based business where vehicles come and go): Every two years. Tire traffic abrades the film faster than foot traffic.
- Coastal humidity zones (Naples, Belmont Shore, Alamitos Bay): Might need the shorter end of the range due to salt air and moisture cycling.
Sealer type matters as much as timing. Water-based sealers are easier to apply, safer for surrounding plantings, and easier to recoat. Solvent-based sealers last longer but need more skilled application and can discolor if over-applied. For most Long Beach residential driveways, a penetrating water-based sealer is the better call – it doesn’t build a film that can peel or scuff.
Don’t over-seal. A driveway sealed every year for ten years ends up with a sealed film that flakes and peels and looks worse than no sealer at all. Sealing is a multi-year cycle, not an annual event.
Two tests to know if it’s time: pour a cup of water on the driveway. If it beads and rolls off, you’re still protected. If it soaks in within a minute, time to reseal. And run a “scratch test” with a fingernail on a discreet paver – if a visible layer comes up, you have a film sealer that needs a lighter recoat, not another full application.
The 10-Minute Annual Structural Check
Most catastrophic paver failures we see start small and quietly. The trick is catching them while the fix is a $150 edge-restraint adjustment instead of an $1,800 base repair. Set a calendar reminder for September, put on running shoes, and walk the perimeter of your driveway with these steps.
- Walk the edges first. Press down on each paver along the perimeter with your foot. Any paver that rocks underfoot or feels loose from the sand locks is a warning sign. Note the specific location.
- Eyeball the edge restraint. That’s the plastic, aluminum, or concrete curb that locks the outer pavers in place. Run your hand along it. Any place where it’s pulling away from the pavers, cracked, or loose is a problem for this winter’s rain.
- Look for low spots. Stand at one end and sight down the driveway surface toward the street. Any depression that holds water (you’ll see the darker color) is a sign the base is compacting unevenly, which means the base is failing.
- Check drainage paths. Water should flow toward the driveway apron and the street. If the flow is heading toward the garage or a corner of the house, that’s already causing damage to the foundation and interior framing.
- Probe for soft base. Take a screwdriver to the paver field – a probe won’t easily tell you base softness, but pushing a garden stake down 6 inches near joints where water pools can. If it goes down with almost no resistance, the base is saturated and settling.
- Check joints for washout. Look for any joint wider than a quarter-inch. That’s a joint that’s lost its sand and needs to be refilled before the next rain.
Write down what you find. In our experience, Long Beach homeowners consistently miss edge restraint issues because they never walk the perimeter; they only look at the center where they drive. Failure almost always starts at the edges and moves inward.
What to Do After a Heavy Rain Event
Long Beach gets 12 to 14 inches of rain per year, but almost all of it falls in just a handful of concentrated storms between November and March. Those storms do more damage in 48 hours than a normal month of rainfall. Here’s what to check when the storm clears:
- Photograph the entire driveway. Snap pictures the first dry day after every significant rain. Comparing year over year is how you catch slow-moving settling before it becomes an obvious dip.
- Look for standing water. The day after rain, any spot with an obvious puddle is a low point that needs evaluation. Puddle depth under a quarter inch is fine; deeper means base settling.
- Inspect every joint. Look for joints where sand has visibly eroded. You’ll see gaps that weren’t there before. Pay particular attention to the bottom edge where the driveway meets the street – water accumulates and moves fastest there.
- Check for efflorescence. That white chalky stain is salt migrating out of the concrete, and it announces moisture in the base. Deal with it early because repeated efflorescence means water is getting in somewhere.
- Clear the drains and aprons. Leaves and debris pile up at the driveway apron and block the flow. A leaf blower prevents minor water damage from turning into a soaking.
- Don’t reseal immediately. Wait at least a week of dry weather before re-sanding or resealing. Moisture trapped under fresh sealer or fresh polymeric sand causes failure.
A post-storm routine takes 15 minutes after each rain front. It’s free. It’s the difference between an edge-restraint fix in October and a full rebuild in five years.
Weed Control and Stain Removal
Weeds in a paver driveway aren’t a cosmetic problem, they’re a structural problem. Once a weed’s taproot gets established in an under-sanded joint, it lifts the paver above it. Multiply that across a driveway over several years and you get heaving and dislodging.
Weed control that actually works:
- Prevention first. Well-maintained polymeric sand prevents most weeds. If you’re pulling weeds every month, the sand has already failed. Re-sand first, then spot-treat.
- Flame weeding works. Small handheld weed torches kill roots without chemicals and without disturbing pavers. Use them when the joints are dry and the wind is calm.
- Spot herbicide for stubborn ones. Use a selective post-emergent on the weedy joints, not a blanket spray. A single dose in early spring before seeds drop saves you a summer of pulling.
Stain removal is a task everyone asks about and few get right:
- Rust stains: Oxalic acid based cleaner. Don’t use bleach – it makes rust worse.
- Oil stains: Cat litter for 24 hours, then a citrus degreaser, then a light scrub.
- Efflorescence: White vinegar diluted 50/50, applied to dry pavers, scrubbed, and rinsed. Don’t power-wash above 1,200 PSI or you’ll blast the joint sand out.
The one rule: never pressure-wash a paver driveway above 1,200 PSI. It strips the joint sand completely and does more harm than a wet winter. A standard garden hose, a stiff brush, and the right cleaner handle 80 percent of stains.
Common Mistakes to Avoid
- Re-sanding in the fall instead of spring. Fall polymeric sand washes out before it cures through the winter rains. Wait until March or April and re-sand once, properly.
- Sealing every year. Annual sealing builds a film that peels, cracks, and holds moisture. Seal on the 3-to-5-year cycle your exposure calls for, not on a calendar convenience.
- Power-washing at full blast. Most consumer pressure washers run 2,500 to 4,000 PSI, and that’s enough to strip joints in 20 seconds. Long Beach homeowners wreck good driveways every spring this way.
- Ignoring the edge restraints. Long Beach’s sandier soils near the coast settle a bit each year. A loose edge restraint lets pavers walk and the whole field spreads over time.
- Planting weeds-friendly vegetation nearby. Ficus and ivy adjacent to a paver border sends roots under the driveway. If your plantings are aggressive rooters, install a root barrier at install time, not after the failure.
- Skipping the post-storm walk. Two minutes of eyeballing after rain catches 90 percent of problems while they’re cheap to fix. Homeowners who skip this end up calling for preemptive replacements.
- Trusting the manufacturer’s “2-3 year” sealer interval in Southern California. Our UV index and sun exposure push that number in one direction or the other based on orientation and shade. Read your driveway, not the bottle.
If you’re planning a new driveway or pavers installation, a lot of these maintenance decisions get baked in at install time – base depth, drainage slope, joint width, polymer sand selection. The Groundwork Construction Co. of Long Beach home page lists our full service scope from foundation to finish line, and it’s where you want to start if you’re still in the planning phase.
When to Call a Professional
Some paver maintenance is straightforward DIY. Re-sanding a small driveway, pulling a few weeds, spot-cleaning – all reasonable homeowner tasks. Other jobs need a trained eye and the right equipment. Call a pro when:
- Your driveway has standing water that doesn’t drain within 24 hours of a storm, or a depression deeper than a quarter inch. That’s base failure, not a cosmetic issue.
- Any paver rocks underfoot. This signals base settling or local joint washout, and it compounds over time.
- You see edge restraint pulling away from the paver field or a curb that’s cracked. These need replacement, not just tightening.
- The whole paver field is heaving in a concentrated area. That’s what water-saturated base looks like, and it usually means re-pulling the pavers and re-compacting the base.
- Your driveway is 15-plus years old and has never been re-sanded or sealed. At that point a professional assessment saves thousands in avoided replacement.
Groundwork Construction Co. of Long Beach offers free estimates in Long Beach – call (888) 345-8164. We’ll walk your driveway, identify what’s actually failing versus what’s cosmetic, and quote the fix in writing before anything starts. Our technicians have up to 12 years of experience with paver repair and installations, and every job is backed by our 730-Day Done Right Promise – if it’s not done right, we make it right.
Frequently Asked Questions
Re-sanding a typical Long Beach paver driveway runs $400 to $900 for a 400-square-foot job. A professional sealing application runs $1.50 to $3.50 per square foot, so a 500-square-foot driveway lands around $750 to $1,750 depending on sealer type and prep work needed. Annual DIY sweeping and weed control is effectively free. Compared to a $6,000-to-$14,000 replacement, the maintenance math is obvious. Call (888) 345-8164 for a free estimate on your specific driveway – we’ll walk it and quote in writing.
Re-sanding the joints with polymeric sand after the rainy season. Nothing else delivers as much protection per dollar. Correctly filled joints lock the pavers together, keep water out of the base, and stop weeds. Most premature paver failures we see in Long Beach trace back to a washed-out joint field that was never refilled. March and April are the right months here – after the winter rains, before the long dry season.
Every three to five years for most residential driveways, not the two-to-three the manufacturer recommends. Three years for full sun, five for part shade, two for heavy traffic or a home-based business. Coastal humidity in neighborhoods like Belmont Shore and Naples pushes you toward the shorter end of that range. The water-bead test is your real indicator: if a cup of water soaks in within a minute, it’s time. Call (888) 345-8164 if you’re not sure what your driveway needs – estimates are free.
Walk the entire perimeter, photograph the driveway, and check two things: standing water (any puddle deeper than a quarter-inch after 24 hours) and washed-out joints (any joint wider than a quarter-inch). Clear leaves from the driveway apron so water doesn’t back up. Don’t re-sand or reseal until at least a week of dry weather – moisture trapped under fresh sand or sealer causes joint failure. A 15-minute post-storm walk catches most problems while they’re still cheap.
Yes, but keep the pressure below 1,200 PSI, or you’ll strip the polymeric joint sand out and undo months of maintenance in a minute. A garden hose, a stiff brush, and the right cleaner handle most stains. For rust, use oxalic acid cleaner, not bleach. For oil, cat litter for a day, then a citrus degreaser. For efflorescence, dilute white vinegar. If you’re dealing with a whole-driveway cleaning, our crew carries the equipment and knows what pressure each paver type tolerates.
Pavers don’t fail – installations fail. The pavers themselves are durable for decades. What fails is the base (from water infiltration or poor compaction), the joints (from missing polymeric sand), or the edge restraints (from settling and root pressure). The visible symptoms are rocking pavers, standing water after rain, edge separation, and localized heaving. Catching these at the ten-minute structural check prevents full replacement. A properly built and maintained paver driveway in Long Beach should run 20-plus years before needing extensive structural attention.
If you’re also planning a perimeter fence or adding a structure at the back of the property, coordinating the schedule matters – landscaping decisions and driveway work interact more than most homeowners expect. Our Fence Installation in Long Beach guide covers the sequencing issue, and the Home Additions & ADU in Long Beach service page walks through how a new structure affects hardscape drainage and access.
The Bottom Line
Paver driveway maintenance comes down to two annual habits and one multi-year cycle. Spring re-sanding with polymeric sand after the rainy season, and a fall structural check that catches edge restraint loosening and base soft spots. Add a sealer reapplication every three to five years based on your specific sun and traffic, not the manufacturer’s sticker, and your driveway runs twenty-five years instead of seven. Skip those two annual tasks, and you’ll be calling for a replacement quote while your neighbor’s original install is still going strong. The list is short; the discipline is what separates the two outcomes. Written by the team at Groundwork Construction Co. of Long Beach.
Ready to Protect Your Driveway?
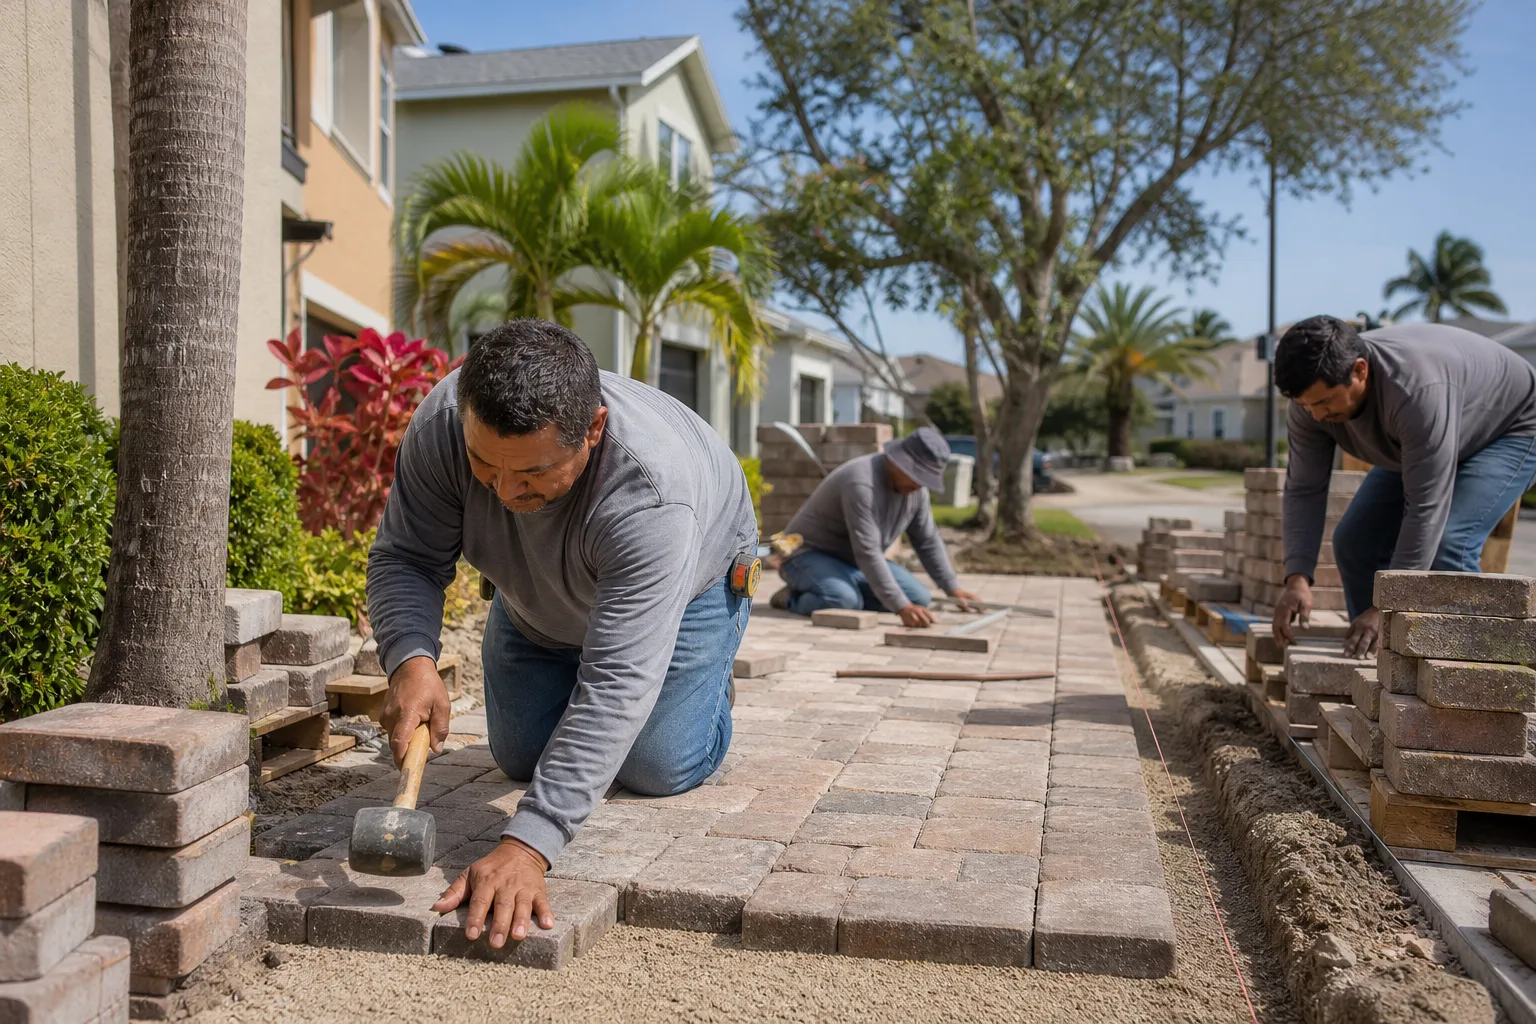
Call Groundwork Construction Co. of Long Beach at (888) 345-8164 for a free estimate. We’ll walk your driveway, diagnose what’s actually failing versus what’s cosmetic, and quote the fix in writing before work starts. Calls are answered by a live person 24/7 – no voicemail, no waiting until Monday. Every job comes with upfront pricing, our curated brand partners including Belgard for pavers, and our 730-Day Done Right Promise: if it’s not done right, we make it right. If you’re at the point where maintenance has turned into replacement, we’ll quote both scenarios so you can see the math side by side. And if you’re in the planning phase, the free estimate and design consult is the right first call – before you commit to a layout or material selection.
Written by the team at Groundwork Construction Co. of Long Beach.
See the difference
 Before
 After
 Before
 After
 Before
 After