Last updated November 17, 2026





Free written scope consultation - allowances, timeline, and change-order rules on paper before a single trade is scheduled
Driveway & Pavers Troubleshooting: Common Problems and How to Fix Them
A single sunken paver isn’t a paver problem. It’s a soil problem. That’s the first thing we tell homeowners who call us about a dip in the driveway, and it’s the lesson that saves them the most money. What looks like a cosmetic flaw at the surface is almost always a base failure working its way up from underneath. Replace the one sunken unit and you’ve put a bandage on a broken bone; the same paver, or its neighbor, will sink again within a season or two. This guide teaches you to read what your driveway is actually telling you, separate surface fixes from structural ones, and know when a repair is honest and when it’s throwing money at a symptom. We’ll use what we see across Long Beach as the backdrop, because the local soil, coastal moisture, and seasonal sun here create very specific failure patterns.
Quick Answer
Most driveway paver problems in Long Beach fall into three buckets: edge restraint failure (pavers spreading at the border), base failure (settling or erosion under the surface), and joint sand washout (gaps between units). Surface fixes like re-sanding and re-leveling work only when the base is intact. If pavers are heaving, spreading at the edges, or sinking repeatedly in the same spot, the base is compromised and the repair requires excavating down to it. Diagnosing the cause before you touch a single paver is the difference between a fix that lasts and one you’ll repeat in two years.
Styles & brands we work with
- Kitchen remodeling
- Bathroom remodeling
- Home additions & ADU
- Roofing
- Windows & doors
- Driveway & pavers
- Fence
Table of Contents
- How to Read Your Driveway’s Warning Signs
- Surface Fixes vs. Structural Repairs: How to Tell the Difference
- Edge Restraint Failure, Base Failure, and Joint Sand Washout
- Efflorescence: Cosmetic or a Warning Sign?
- Cracking and Shifting Patterns That Point to Drainage Problems
- When a Repair Is Legitimate and When a Full Reset Is the Honest Answer
- Common Mistakes to Avoid
- When to Call a Professional
How to Read Your Driveway’s Warning Signs
Your driveway is a system, not a surface. Pavers sit on a compacted base layer over native soil, held at the perimeter by an edge restraint, with sand locking the joints. When one layer fails, the others telegraph it upward. Learning to read those signals tells you which layer broke before you dig anything up.
Here’s the diagnostic walk any experienced installer runs, in order:
- Walk the outer edge first. Look for pavers that have crept outward past the restrainer or lifted at the border. That’s an edge symptom before it becomes a base symptom.
- Look across the plane of the driveway at eye level, not down at your feet. Slight undulations read as waves in the light and reveal settlement that’s invisible looking straight down.
- Check the joints. Wide, open joints with sand missing point to washout. Tight joints with pavers pushed together point to compaction or lateral creep.
- Look at the low point. Every driveway drains somewhere. A dip or stain at the low point tells you where water is pooling, and pooling water is what drives base erosion.
- Note whether a problem is isolated or patterned. One sunken paver is a local failure. A line of settled pavers running toward a low spot is a drainage failure.
In Long Beach, the signals read differently than in inland markets. The marine layer keeps shallow soil damp much of the year, so base erosion from slow, constant moisture is more common than the dramatic freeze-thaw heave you see in colder climates. Older homes in neighborhoods like Belmont Shore and Alamitos Beach often have driveways built before current base-depth standards, and those shallow bases give up sooner once water finds them. When we look at a driveway in Long Beach, we’re reading for water first and vehicle load second.
One more thing worth knowing: a driveway that looks fine after a light rain and shows a dip the next morning isn’t showing you a paving problem at all. It’s showing you where soil is moving underneath. That’s the moment to investigate rather than pat over it.
Surface Fixes vs. Structural Repairs: How to Tell the Difference
The single most useful distinction in paver troubleshooting is whether the base is intact. If it is, you have a surface fix on your hands and most repairs are affordable. If it isn’t, anything short of addressing the base is temporary at best.
Surface-level problems live in the top inch or two. Joint sand has washed out, a paver has chipped, a border unit has loosened a quarter-inch, or the top dressing is worn. These repairs don’t require pulling up the field of pavers or disturbing the base.
Structural problems live underneath. The base is uneven, eroded, or not compacted enough, and no amount of re-sanding or re-leveling at the surface will fix it. The giveaway is recurrence: the same spot sinks twice, or the whole panel of pavers slides downhill toward the street.
How to test which one you have:
- Press firmly on a sinking paver. If it rocks slightly within a stable field, it’s likely a minor joint or bedding issue. If it depresses and its neighbors move with it, the base is failing.
- Pour a small amount of water over a suspect area. If it drains quickly into the joints, base saturation isn’t the issue. If it pools or disappears slowly, you’re sitting on a saturated base.
- Look for a uniform sag versus a single low unit. Uniform sag usually means base settlement across a panel; a single low unit often means a broken bedding layer or a void under one paver.
In our experience, homeowners in Long Beach who call about “one bad paver” more often have a spreading base issue under a panel of eight or ten units. Treating that as a single-paver fix is exactly the bandage-on-a-broken-bone scenario. If you suspect a structural cause, a professional assessment saves you from a repeat repair six months down the road, and we recommend a written scope that names the cause, not just the symptom.
Edge Restraint Failure, Base Failure, and Joint Sand Washout
These three failures are the most common in Southern California paver driveways, and they’re frequently confused because the symptoms overlap. Each needs a different repair. Misdiagnosing which one you have is where projects go sideways.
Edge Restraint Failure
The edge restraint is the lip or border that keeps the field of pavers from spreading sideways under load. When it lifts, cracks, or is installed too shallow, the outer pavers creep outward and the whole field loosens. The telltale sign is a border that moves when you press on it, or a visible gap between the outermost paver and the adjacent curb, lawn, or planter.
Fixing edge restraint failure means reinstating the border to the correct depth and anchoring it to resist lateral load. It’s a perimeter fix, not a dig-up-the-field fix, provided the base underneath the field is still intact. Do it early and you prevent the field from spreading; ignore it and you graduate to a base problem.
Base Failure
The base is the compacted aggregate layer that distributes weight and stabilizes everything above it. When it settles, erodes, or was never deep enough, the pavers above it sink, heave, or shift as a group. Base failure shows as waves, dips that come back after repair, or pavers that rock in clusters.
Repairing base failure means removing the affected pavers, excavating down to the compromised layer, re-compacting or replacing the base, and re-laying. It’s the structural repair that justifies a professional rather than a weekend attempt. In Long Beach, we regularly see shallow bases fail early on driveways near the coast, where damp soil and older construction combine.
Joint Sand Washout
The sand in the joints locks the pavers together and keeps water from reaching the base. When it washes out, joints widen, pavers loosen, and water gets a straight path to the soil underneath. The sign is visible: gaps between pavers, sand pooling at the bottom of a slope or at the street, and a slightly gritty surface after rain.
Washout is the simplest of the three to repair, but it’s often the earliest warning that water is running where it shouldn’t. Re-sanding restores the lock, but if the same joints wash out season after season, the drainage is the real problem and the sand is a symptom.
Efflorescence: Cosmetic or a Warning Sign?
Efflorescence is the white, chalky bloom that appears on paver faces after wet weather. It’s salt migrating to the surface as moisture moves through the concrete, and in most cases it’s cosmetic and harmless. But not always, and telling the two apart is worth understanding.
When it’s cosmetic: Efflorescence appears after a rainy stretch, dries away on its own, and cleans off with a light brush or a pH-balanced cleaner. It doesn’t come back immediately and it isn’t concentrated in one spot.
When it’s a warning sign: Efflorescence that returns within days, concentrates in a single area, or appears alongside a damp base or loosening pavers is telling you moisture is entering that zone constantly. That’s chronic moisture intrusion, and it means water has a path into the base that shouldn’t be there. Persistent blooms over a low point or along an edge often point straight at a drainage or restraint failure.
The Long Beach factor matters here. The marine layer keeps pavers damp through the night and early morning for much of the year, so light efflorescence shows up more often than it would inland. The question to ask is not “is there bloom” but “does it keep returning in the same spot.” One that keeps coming back is pointing at the base, not the surface. If you’re seeing recurring efflorescence, have the drainage and base looked at before you commit to a deep clean that will just come back.
Cracking and Shifting Patterns That Point to Drainage Problems
Not every crack is a paver crack, and not every shift is settling. The pattern of cracking and shifting tells you where water is going, and water is the most reliable predictor of a paver failure in Long Beach.
Read the patterns this way:
- A crack that follows a line across the driveway toward a low point usually traces a path where water runs. It’s a drainage signature, not random breakage.
- A whole panel shifting downhill toward the street suggests the base is saturated and creeping, often because the grade doesn’t shed water fast enough.
- Pavers heaving upward against a wall, curb, or planter signals water trapped at the perimeter with nowhere to go. It’s common where a driveway was built without an outlet at the low corner.
- Isolated cracks radiating from a single point are more often impact damage or a point load, not drainage, unless they align with a low spot.
- Line of pavers settling along the seam where two sections were laid at different times points to a base joint that wasn’t pinned or compacted consistently.
The Long Beach drainage picture is specific. Rain is seasonal and often light, but the shallow grade of many driveways near the coast means water sheds slowly and lingers. In older neighborhoods where a driveway abuts a raised sidewalk or a low curb, the low point often lands in the middle of the drive rather than the street. That pooling water is what drives the base failures we see most often. When a cracking pattern points to a drainage problem, the honest fix usually includes correcting the slope or adding an outlet, not just patching the crack. If you see water standing more than a day after rain, treat it as a structural clue.
When a Repair Is Legitimate and When a Full Reset Is the Honest Answer
The toughest call in paver troubleshooting is when to repair a section and when to reset the whole driveway. A repair is legitimate when the failure is contained and the base under the rest of the field is sound. A full reset is the honest answer when the base has failed broadly, when the pavers were laid too shallow to begin with, or when repeated spot repairs have already proven the base is unstable.
Here’s how we decide, and how you can think about it too:
- Measure how much of the field is affected. A single panel or a border run justifies a repair. Multiple panels failing at once usually means the base or drainage is the problem, not the pavers.
- Count how many times the same spot has been repaired. A repeat repair in the same location within a few seasons is proof the cause was never addressed.
- Check base depth and compaction. If the base is too shallow or loose, no repair above it will hold. This is the case where a reset is the only honest answer.
- Look at the perimeter as a whole. If the edge restraint is failing along the entire driveway, a patch won’t stop the field from spreading.
- Weigh the cost of a patch against the cost of a reset. A short-term repair is worthwhile when it buys you real years; it isn’t worthwhile when it’s a stopgap on a base that will fail again next season.
A legitimate short-term fix has a purpose: it buys time, it addresses a genuine isolated defect, and it holds. An illegitimate one is the bandage on the broken bone: it looks fixed, it costs money, and it fails within a season. Telling the two apart honestly – and we’d rather recommend a patch when a patch is right, and a reset when the base demands it – is the difference between a driveway that lasts and a driveway that keeps eating repair money. If you’re weighing a reset, the right first move is a written assessment naming the cause and the scope, so you can compare it against a repair honestly. That level of transparency is the standard we hold repairs to through our Groundwork Construction Co. of Long Beach home service approach.
Common Mistakes to Avoid
- Replacing a single sunken paver without checking the base. The sunken unit is a symptom, and if the base under it is eroded, the replacement will sink too. Diagnose the cause first, then decide on the repair.
- Re-sanding without fixing the drainage. Fresh sand in a joint that washes out every rainy season is money spent on a symptom. Track where the water goes before you re-sand.
- Assuming efflorescence is always cosmetic. A bloom that keeps returning in the same spot is telling you moisture is getting into the base. Have the drainage checked rather than just cleaning the surface.
- Ignoring a lifted border. Edge restraint failure is the cheapest problem to fix early and the most expensive to ignore. Once the field starts spreading, the repair grows with it.
- Patching drainage cracks with sealant only. Sealing a crack without addressing the water path underneath lets the same failure return. Fix the slope or outlet first.
- Treating a repeat repair as bad luck. The same spot failing twice is not chance. It’s proof the base or drainage was never fixed, and it should trigger a full assessment, not another patch.
- Choosing a full reset by default or refusing one when it’s needed. Neither a patch-everything nor a replace-everything attitude serves you. The honest call depends on base condition and drainage, not on the size of the bid.
Some of these mistakes feel local. A homeowner in Long Beach who re-sands a driveway near the coast receives a fresh look for a few weeks, but the marine moisture finds the same joints again by the next wet season. A homeowner inland might get more years from the same work. That’s why diagnosing before repairing matters more here than in a drier climate. It’s also why we always start with a written diagnosis through our Driveway & Pavers in Long Beach service page – you can’t price a repair you haven’t diagnosed.
When to Call a Professional
Some paver problems are within reach for a careful homeowner: a single chipped paver swap, a light re-sand, a cosmetic clean. Others aren’t, and the line falls where the base or drainage is involved. Call a professional when a dip returns after repair, when pavers are spreading at the edges, when you see recurring efflorescence alongside a damp base, when several panels are failing at once, or when you can’t tell which of the three failures you’re facing. A trained crew can diagnose the cause and give you a written scope rather than a guess. In Long Beach, Groundwork Construction Co. of Long Beach offers free estimates – call (888) 345-8164 to schedule a diagnostic visit. We’ll tell you honestly whether you’re looking at a patch, a section repair, or a full reset.
See the difference
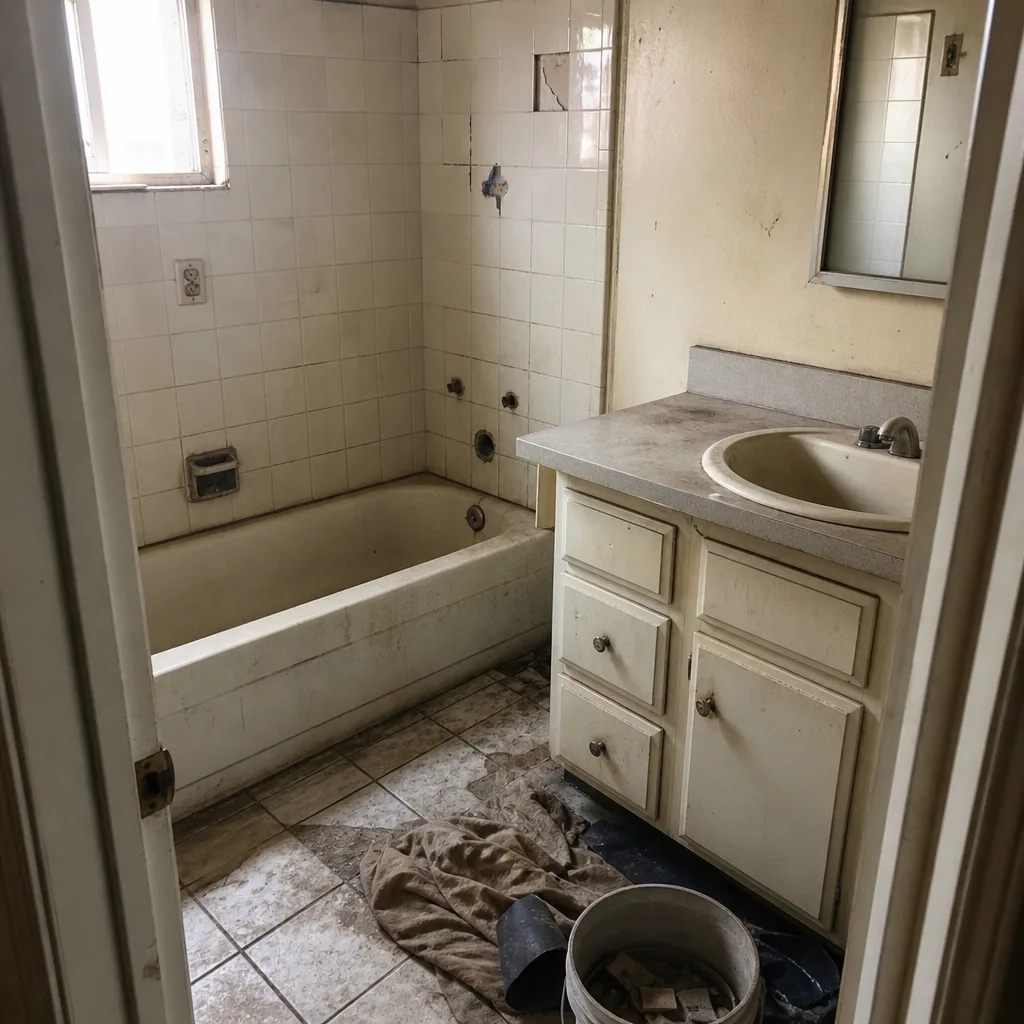 Before
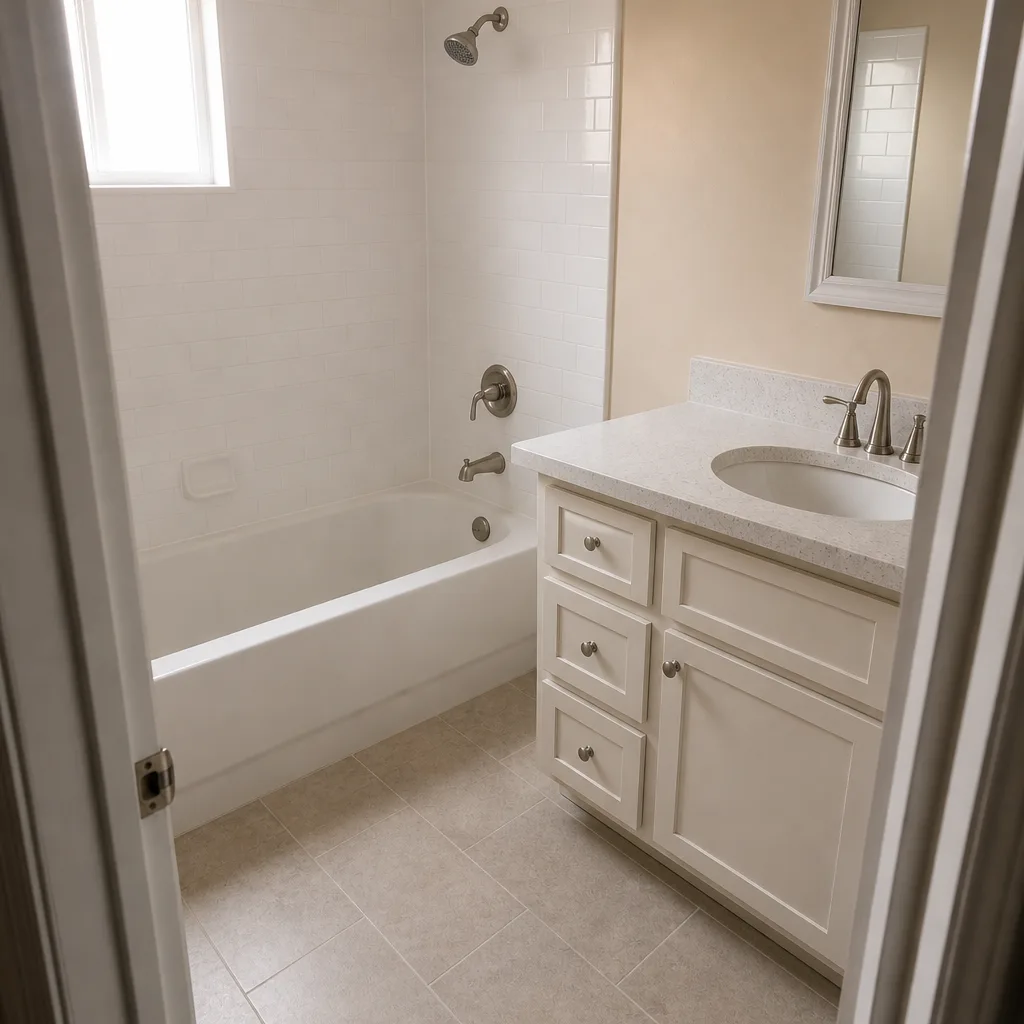 After
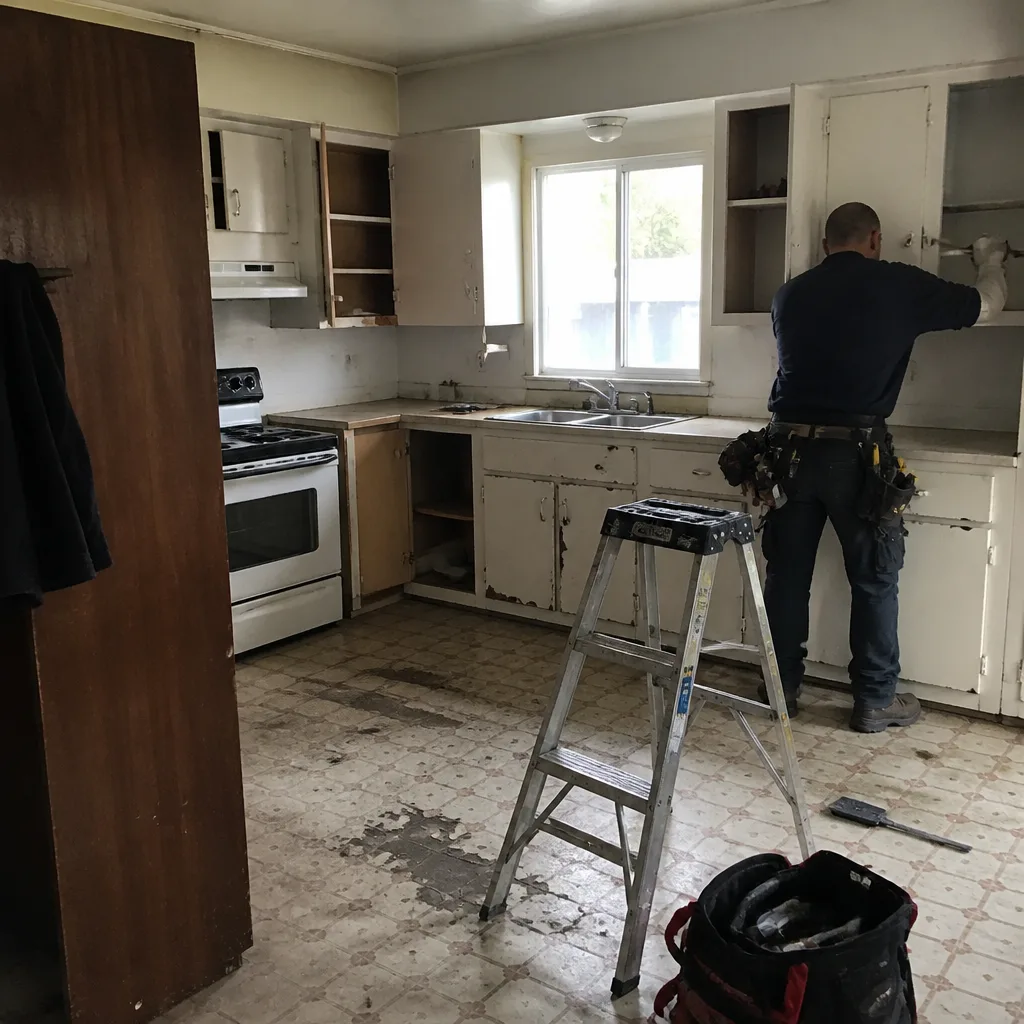 Before
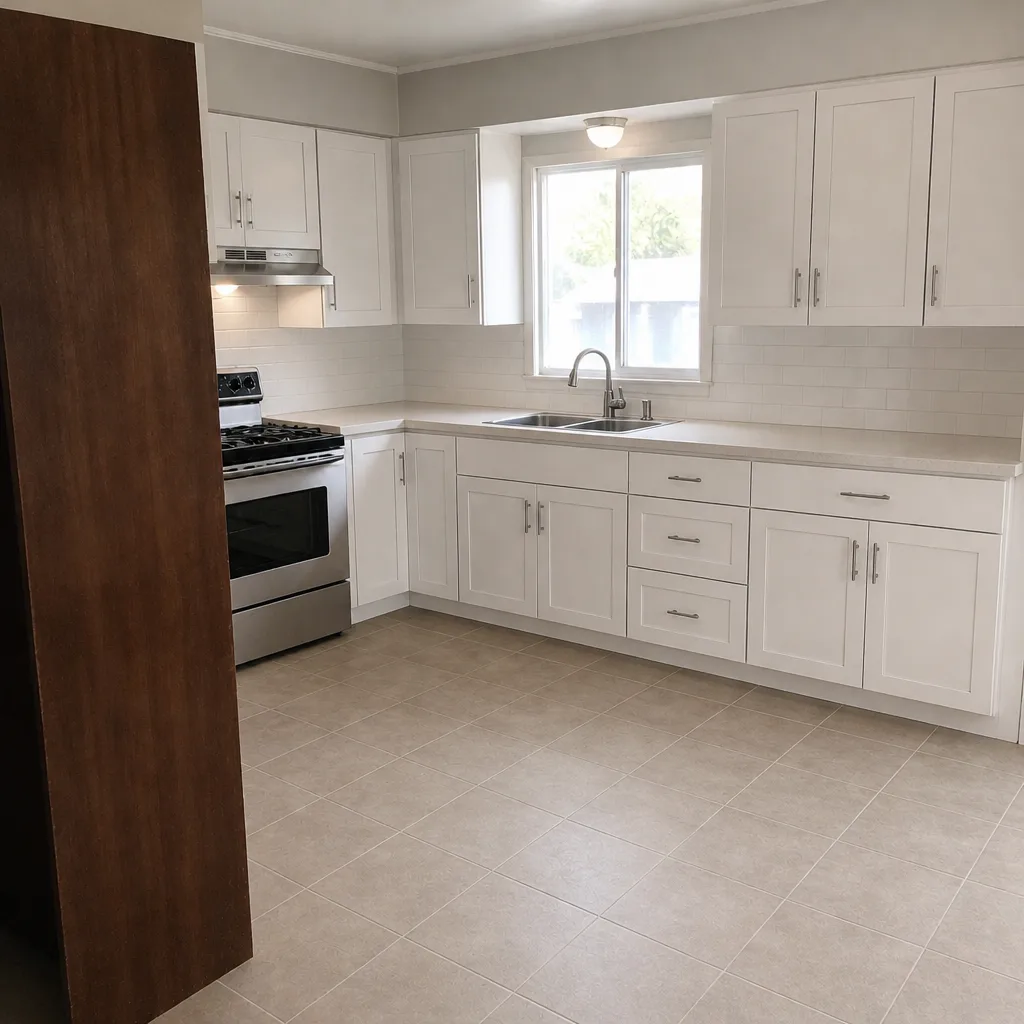 After
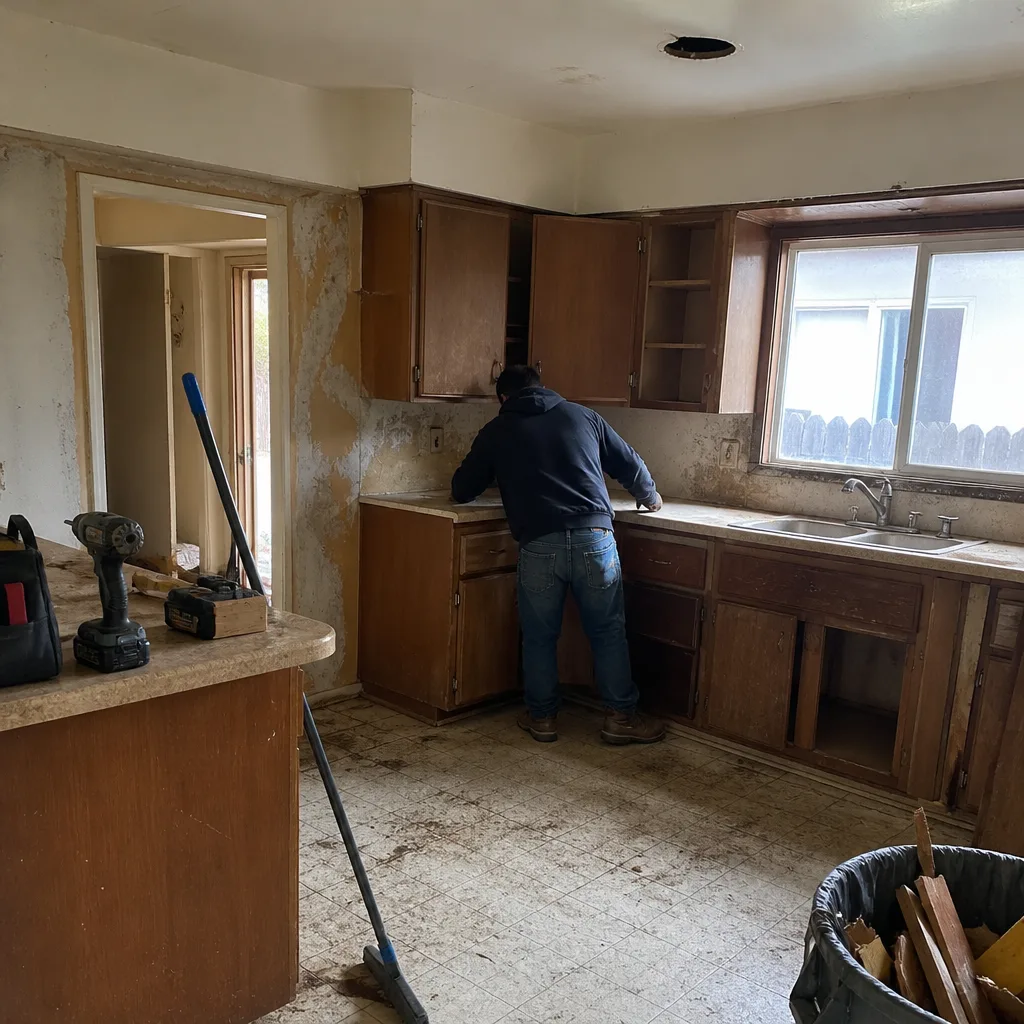 Before
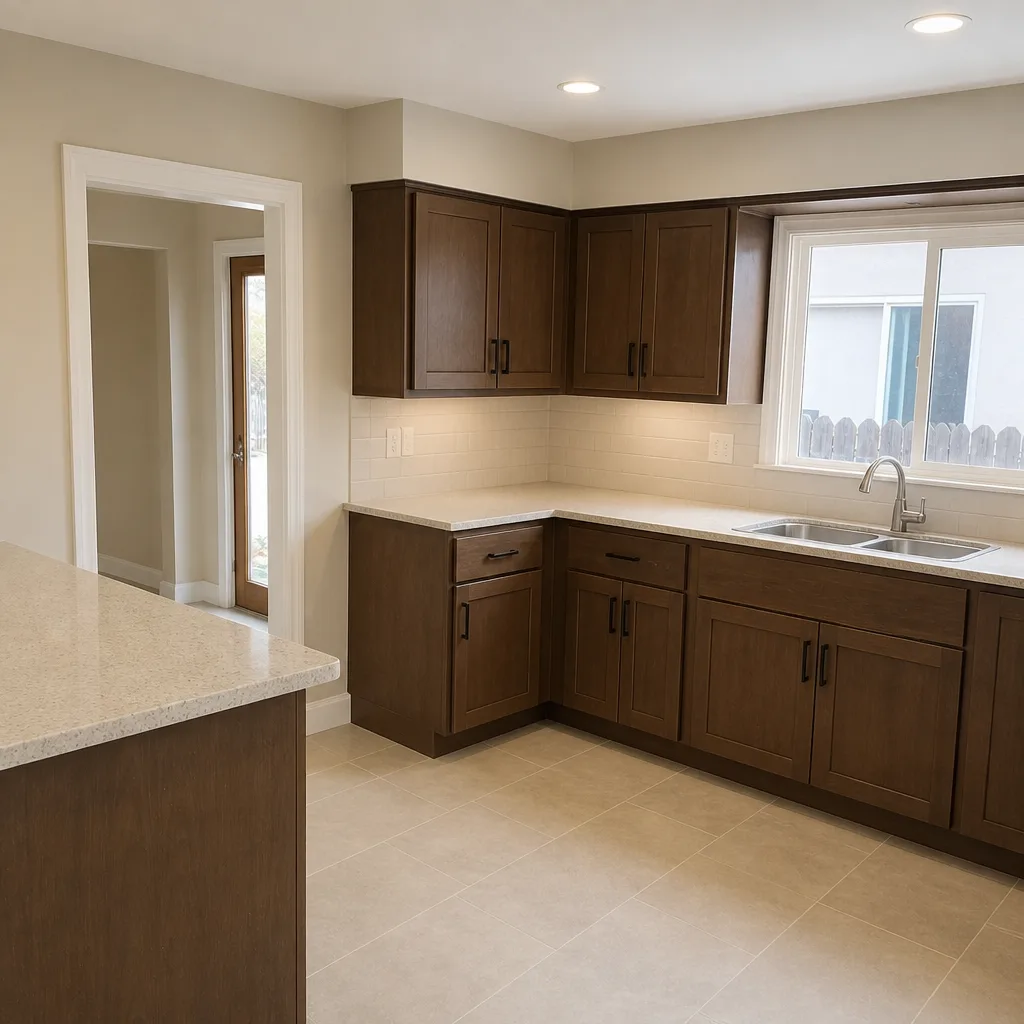 After
Frequently Asked Questions
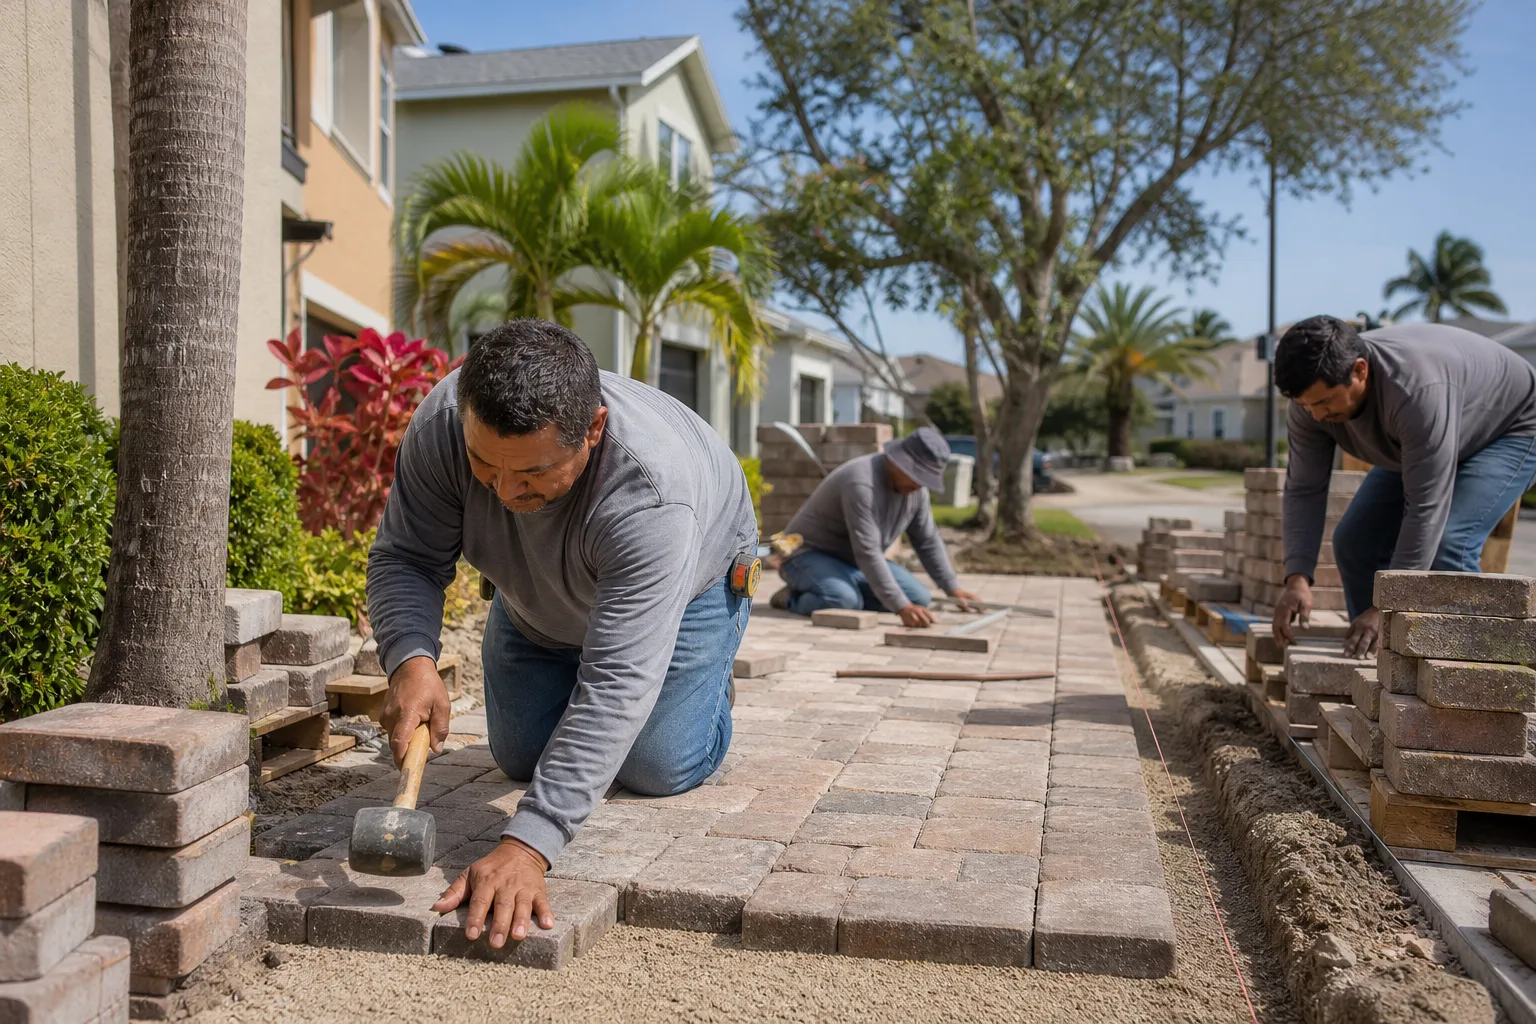
Because the sinking paver isn’t the cause – the base under it is. If the base layer has eroded or wasn’t compacted deeply enough, replacing or re-leveling that single unit leaves the real problem in place, and the soil moves again under the next load or rain. The fix is to excavate down to the base, correct it, and re-lay the affected pavers, not to patch the surface. Call us for a diagnostic visit if the same paver keeps sinking; we’ll identify the base issue before you spend money on another patch.
It’s efflorescence, the salt that migrates to the surface as moisture moves through the concrete, and in most cases it’s cosmetic. The tell to watch is recurrence: a bloom that dries away and stays gone is harmless, while one that keeps returning in the same spot signals chronic moisture reaching the base. Recurring efflorescence deserves a drainage check, not just a cleaner. Call (888) 345-8164 to schedule a free estimate if it keeps coming back.
That’s edge restraint failure, where the border that keeps the field from sliding sideways has lifted, cracked, or been set too shallow. The outer pavers creep outward, the joints loosen, and the field loses its lock. It’s a perimeter repair rather than a full dig-up, provided the base under the field is still sound, and it’s much cheaper to fix early than after the field has spread. Call for a free estimate and we’ll confirm whether the restraint or the base is the real problem.
Cracks usually follow water, so a crack running across toward a low point is a drainage signature, not random breakage. Isolated cracks radiating from one spot are more often impact damage. In Long Beach, seasonal rain and shallow grades push water toward the middle of the drive, and that pooling is what drives the base failures underneath. If you see water standing more than a day after rain, have the slope and base assessed. Estimates are free – call (888) 345-8164.
Re-sanding restores the joint lock only when the base and drainage are sound, so it’s a legitimate surface fix in that case. If the same joints wash out season after season, the sand is a symptom and the drainage is the cause, and re-sanding just resets the clock. Diagnose where the water goes before you re-sand. Call for a free estimate and we’ll tell you honestly whether a re-sand will hold.
A section repair is worth it when the failure is contained and the rest of the base is sound; a full reset is the honest answer when the base has failed broadly or was too shallow to begin with. The deciding factors are how much of the field is affected, how many times the same spot has been repaired, and whether the perimeter is failing along its length. We’ll give you a written assessment naming the cause, not just the bid. Call (888) 345-8164 for a free estimate.
The Bottom Line
Almost every driveway paver problem you’ll face traces back to one of three failures: a bad edge restraint, a compromised base, or washed-out joints – and telling them apart is the whole game. Surface fixes are honest when the base is intact and wasteful when it isn’t. Recurring efflorescence and cracking patterns are water talking to you, and water is what drives the failures we see most in Long Beach. The right fix starts with a diagnosis, not a repair. If you’re unsure which failure you’re facing, get a written assessment before spending anything. Groundwork Construction Co. of Long Beach offers free estimates – call (888) 345-8164 to schedule yours and get a straight answer on whether you’re looking at a patch or a reset. And if you’re planning a full driveway replacement, our Fence Installation in Long Beach and Home Additions & ADU in Long Beach teams are here to handle the surrounding scope as well.
Written by the team at Groundwork Construction Co. of Long Beach.